Japan Visa Photo Requirements 2026: 45x35 mm Size, 6-Month Rule, and Embassy Checklist Differences
Use this guide when a Japan visa application asks for a recent 45 x 35 mm photo. It covers what official Japanese embassy instructions commonly say, where local mission checklists differ, and what to verify before you print or attach the photo.
What official Japan-visa instructions usually say
Japanese embassy and consulate checklists commonly ask for a 45 x 35 mm visa photograph taken within the last 6 months. That is close to the familiar Japan passport-photo format, but visa applicants still need to follow the mission-specific checklist because embassy sites sometimes add small operational notes of their own.
That is the important distinction. The core photo is usually straightforward, but the exact embassy page controls the application route. Japan visa pages are a good example of why people should not rely on a generic travel-blog answer when the mission is already telling them what to glue onto the form.
Japan visa photo size at a glance
| Item | What to prepare |
|---|---|
| Photo size | 45 x 35 mm |
| Recency | Taken within the last 6 months |
| Submission style | Printed photo attached to the visa form unless the mission tells you to upload instead |
| Practical note | Follow the embassy or consulate checklist for your own jurisdiction |
Many Japan missions also tell applicants to remove glasses for the photo and to attach the image neatly to the application form. Those details sound minor until they are the reason the file is sent back for correction.
Practical checks before you attach the photo
- Use the full 45 x 35 mm format: do not trim it down to a different passport standard.
- Keep it recent: embassy instructions commonly use a 6-month freshness rule.
- Remove glasses unless the mission says otherwise: that avoids glare and eye-obstruction problems.
- Keep the background plain and the face front-facing: visa clerks are not looking for creative interpretation here.
If your local Japanese mission publishes a different requirement, the local mission wins. The safest workflow is always to match the checklist tied to the place where you are actually submitting.
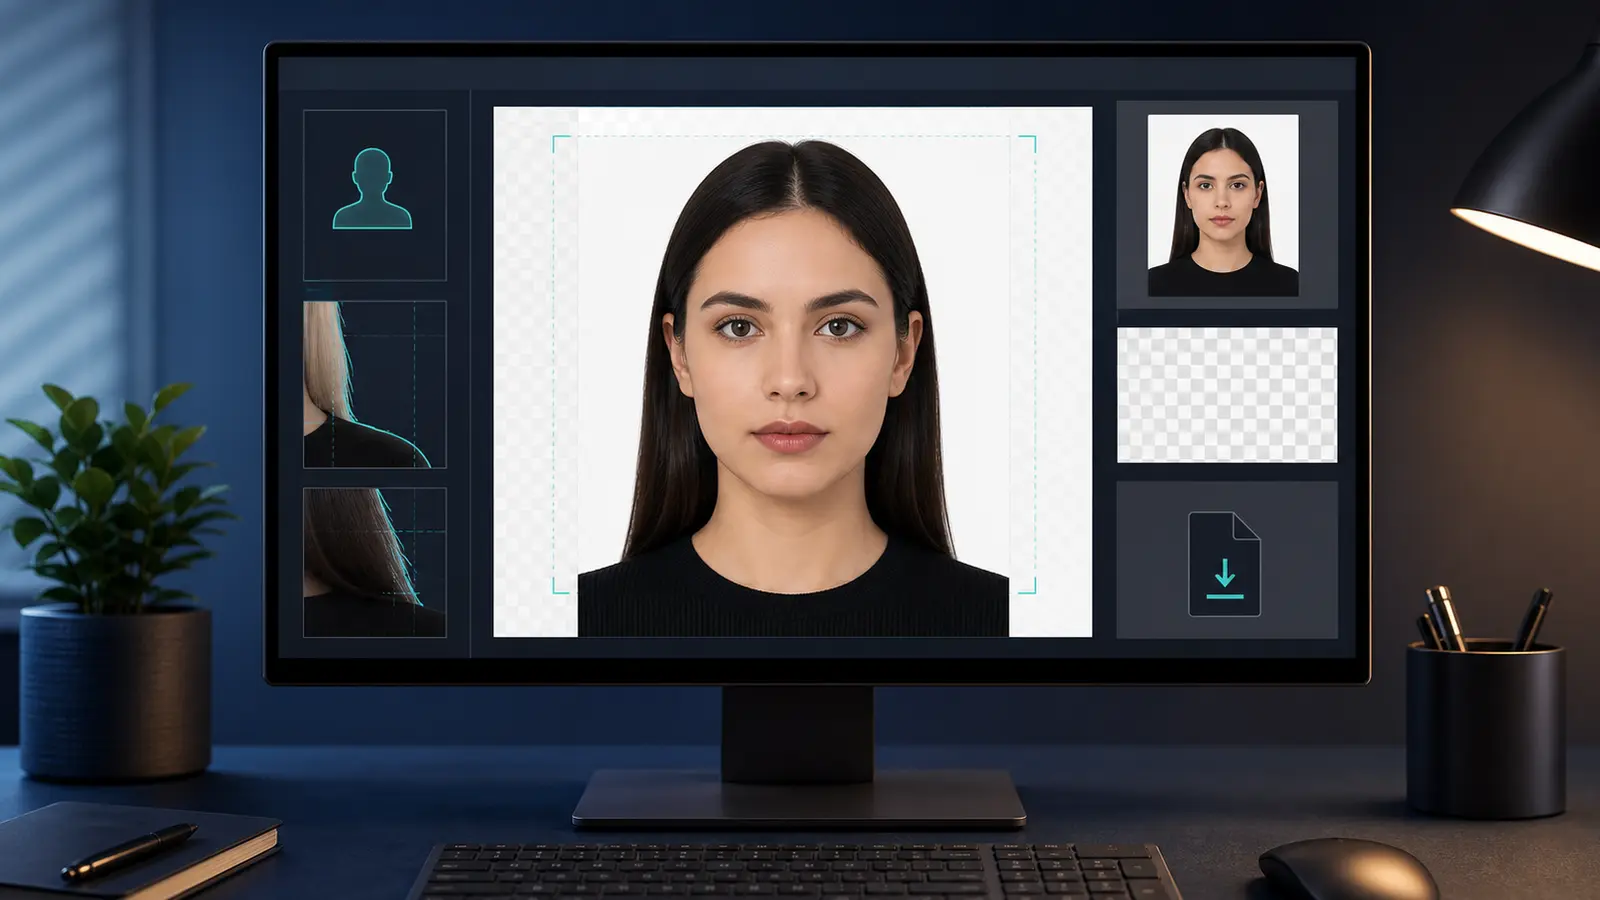
How to prepare it with Passlens
- Start with a recent, front-facing portrait in even light.
- Clean the crop and background before export.
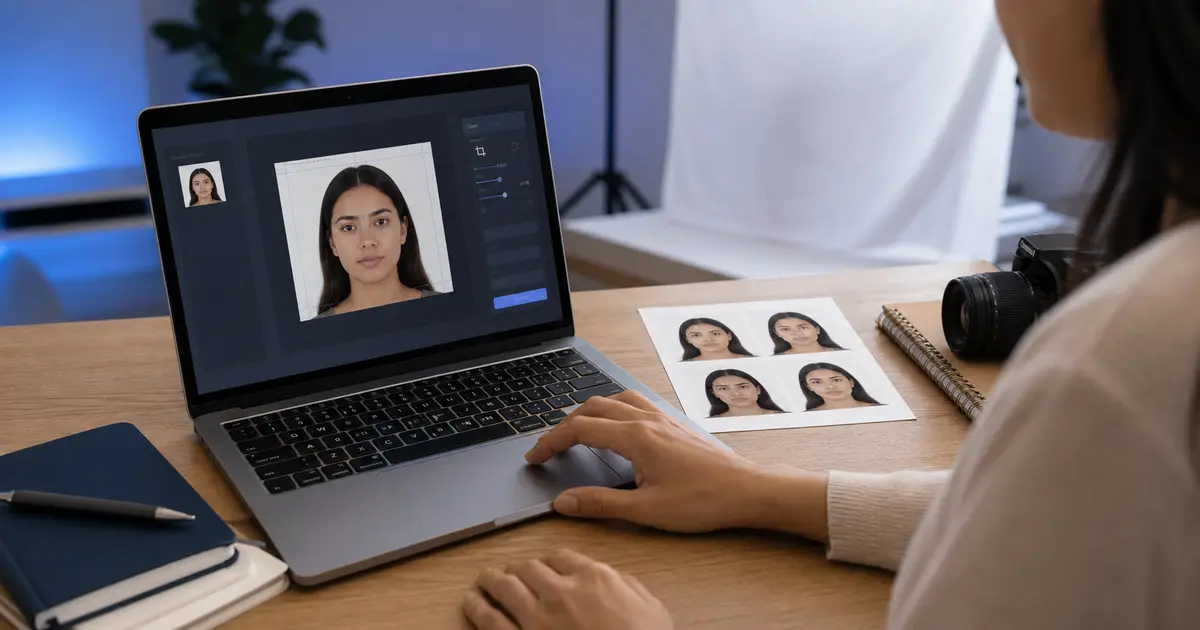
- Export the image at the full 45 x 35 mm target for printing.
- Print at 100% scale and compare it against the embassy checklist before attaching it to the form.