Passlens User Guide
Passlens is a free, browser-based passport and ID photo maker online. Local processing is the default, and optional enhanced processing is available when you choose it for heavier tasks. No signup required. This guide walks you through every step of the workflow, from choosing a preset to exporting a print-ready layout.
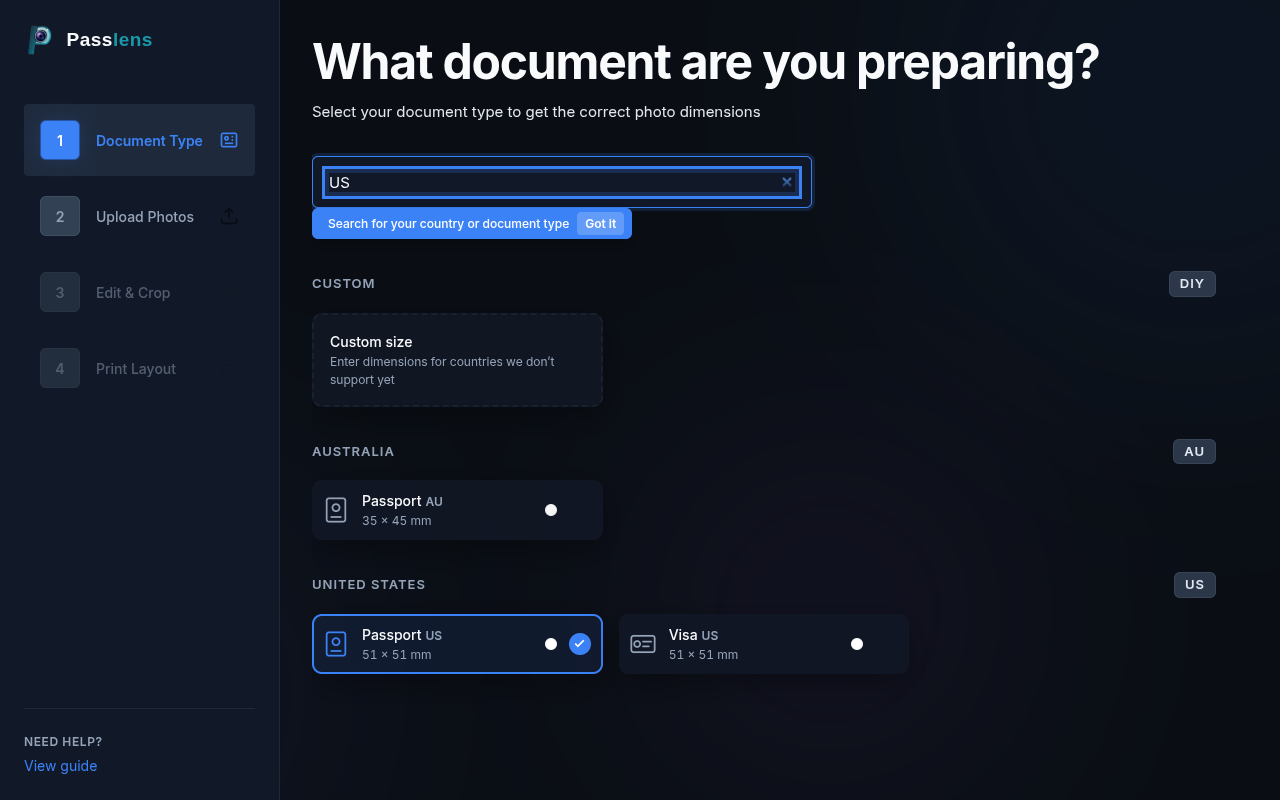
Step 1 — Choose Document Type
Start by selecting a document preset. Presets lock in the correct photo dimensions (in millimeters), DPI, and head-positioning guidance for your target document.
Search for a preset
Type a country name, document type, or size in the search box. Results update instantly as you type. Click a result to select it and move to the next step.
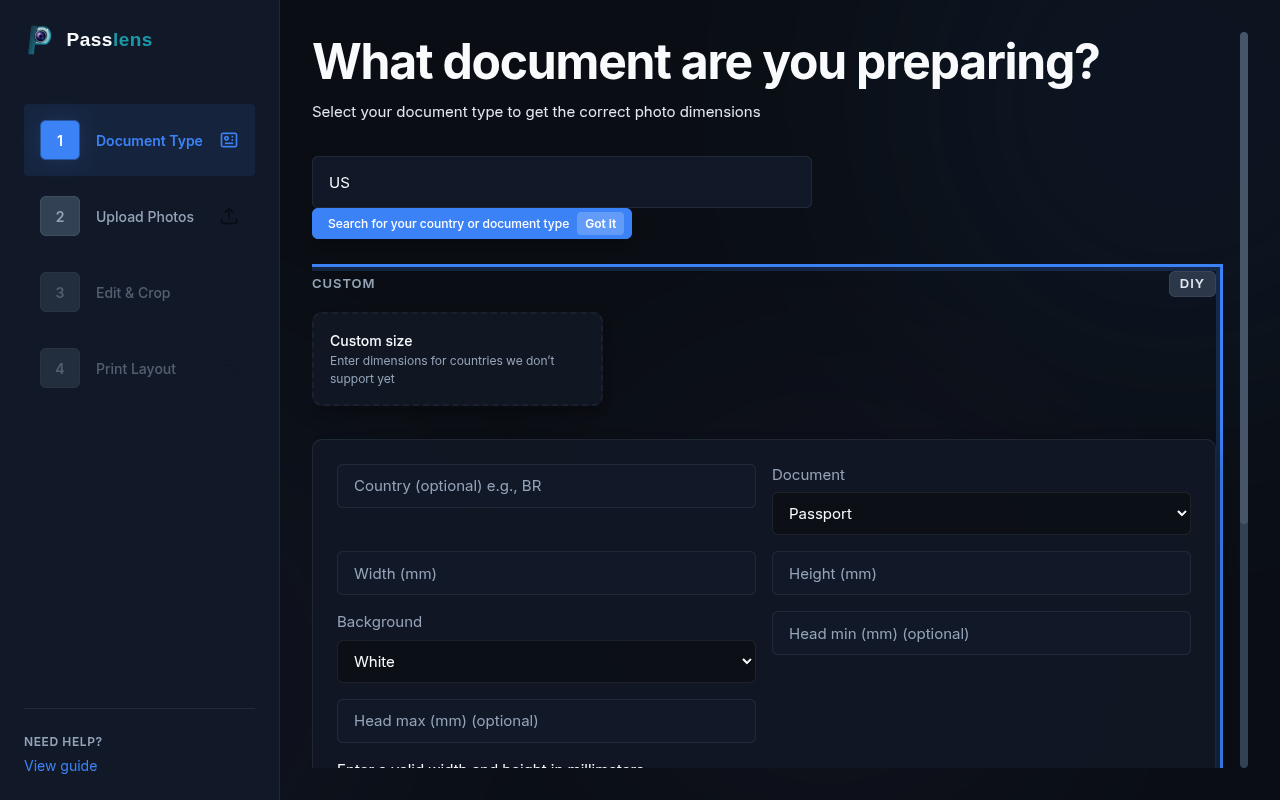
Create a custom preset
If your document isn't in the list, scroll down past the search results and expand the "Create Custom Preset" card. Enter a name, width, and height in millimeters. You can also specify custom head-height ranges if your document has specific requirements.
Tip
You can change your preset at any time by clicking "Document Type" in the sidebar (desktop) or navigating back to Step 1 using the arrow buttons (mobile).
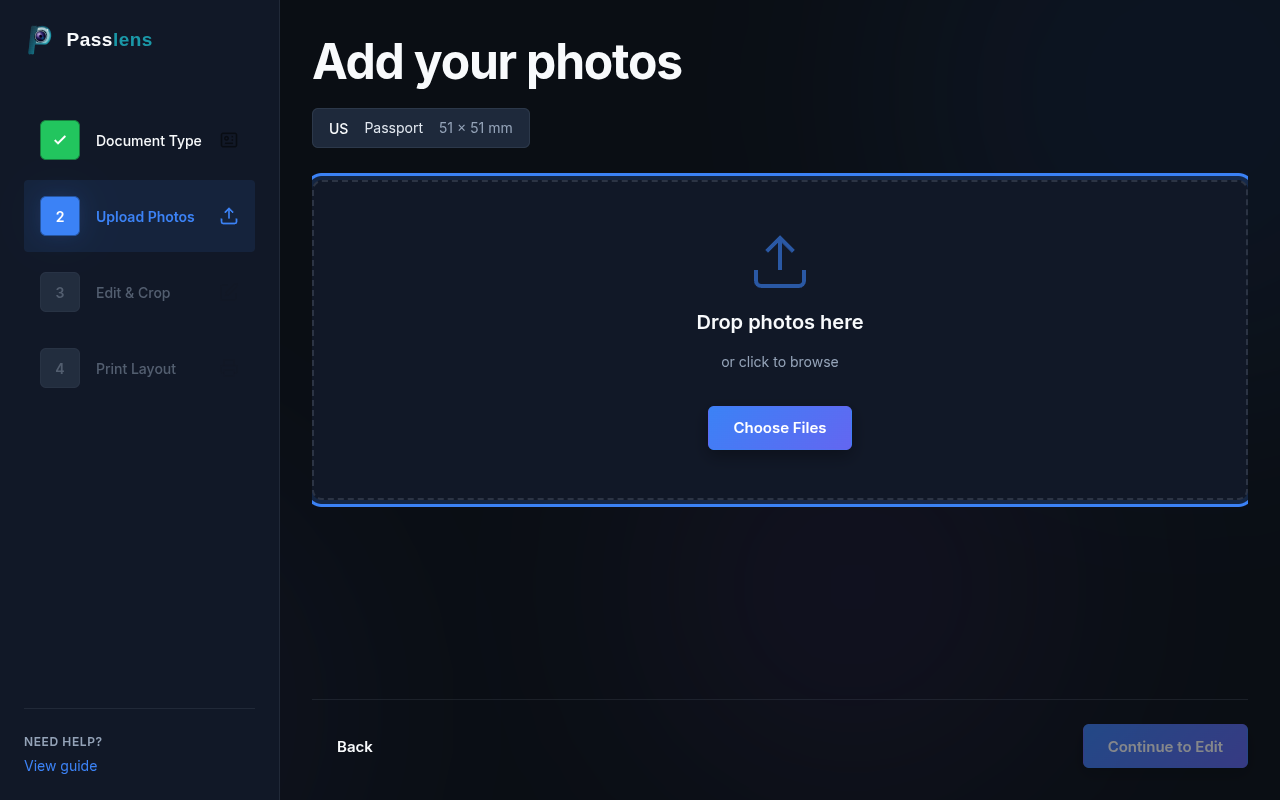
Step 2 — Upload Photos
Add one or more photos to work with. You can upload photos using drag & drop, the file picker, or your device camera (on mobile).
Drag & drop or browse
Drag photos onto the drop zone, or click "Choose files" / "Add more" to open the file picker. Accepted formats: JPEG, PNG, WebP.
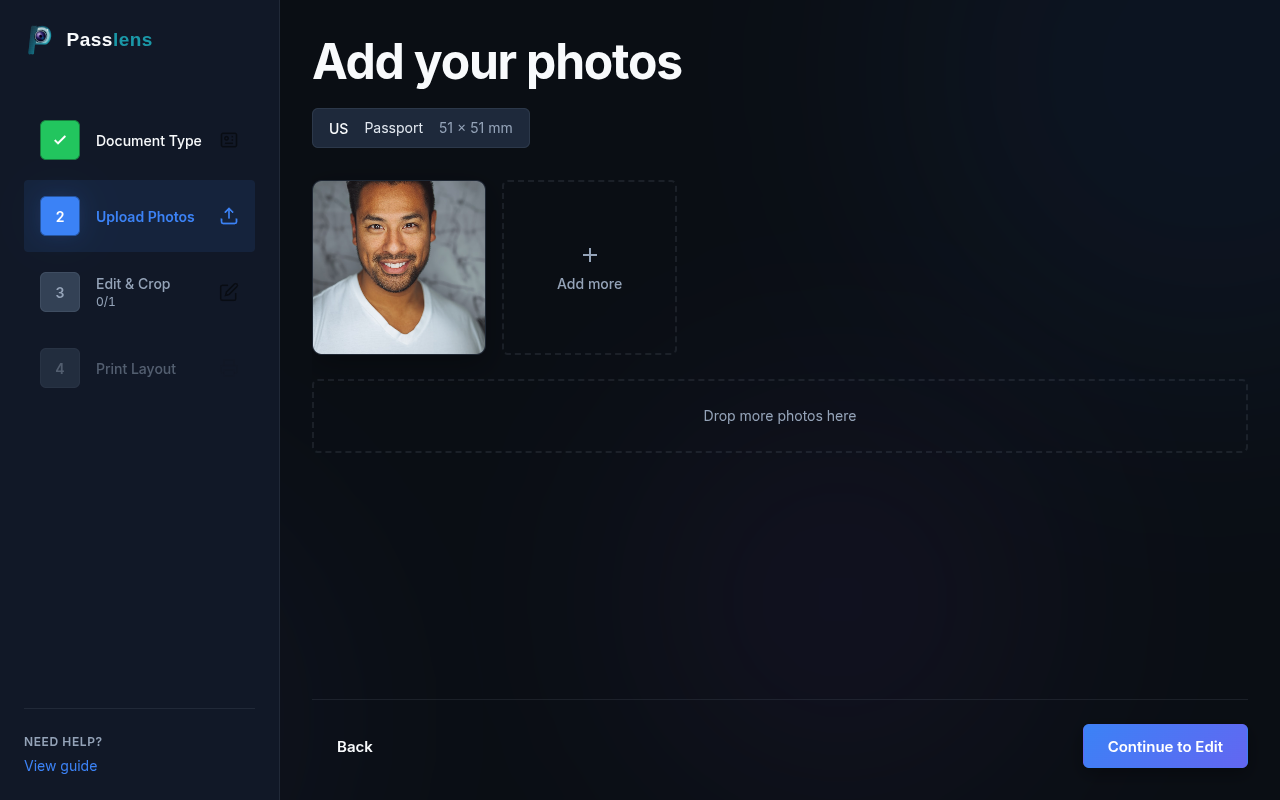
Manage uploaded photos
After uploading, each photo appears as a thumbnail. Photos with the green "Edited" badge have been processed in the Edit step. Click the X button on a thumbnail to remove it, or click "Add more" to upload additional photos.
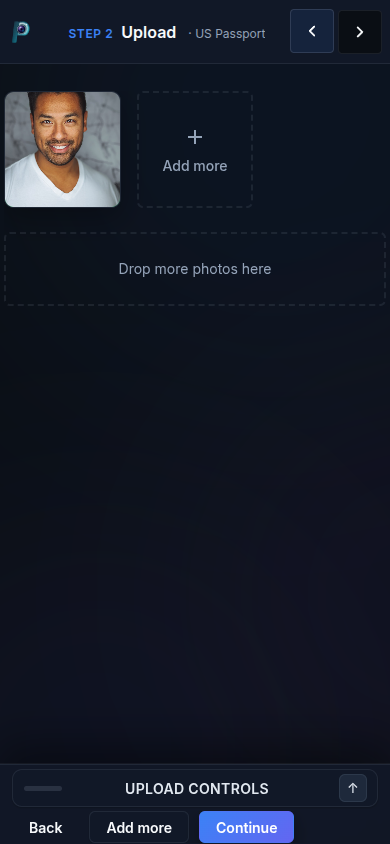
Mobile upload
On mobile, the upload controls appear in the bottom bar. Tap "Add more" to open the file picker or use your device camera.
Tip
For best results, use a well-lit, front-facing photo with a plain background. Passlens can remove backgrounds, but starting with a clean photo yields better results.
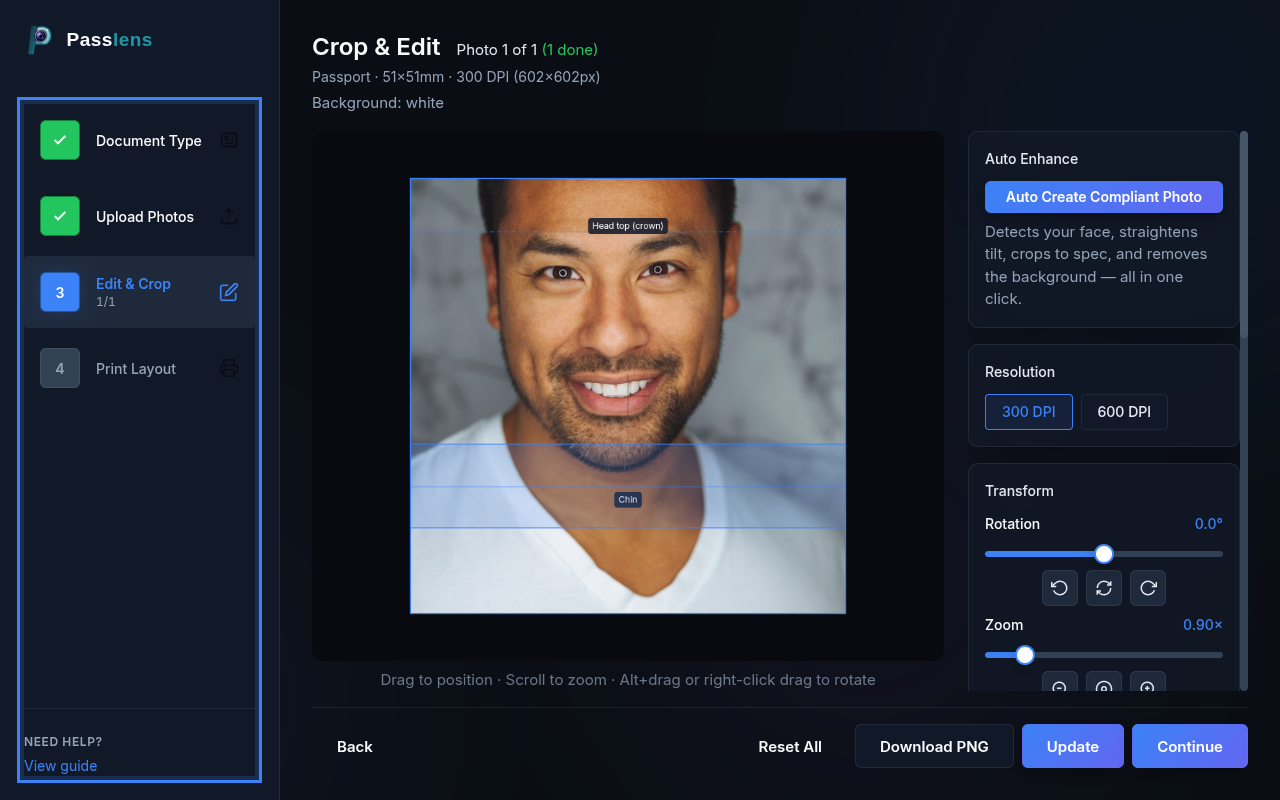
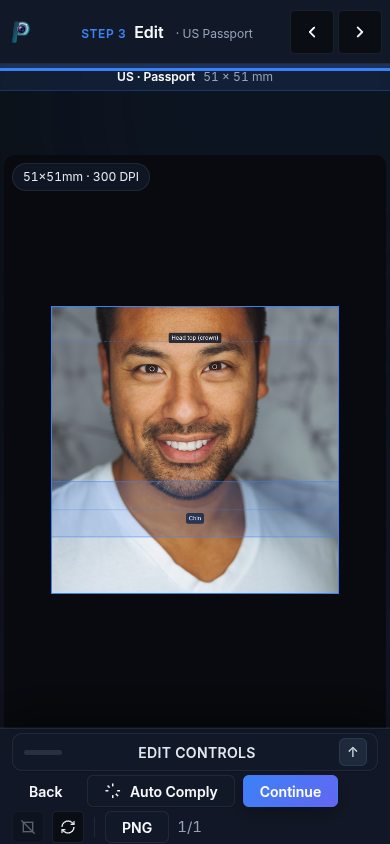
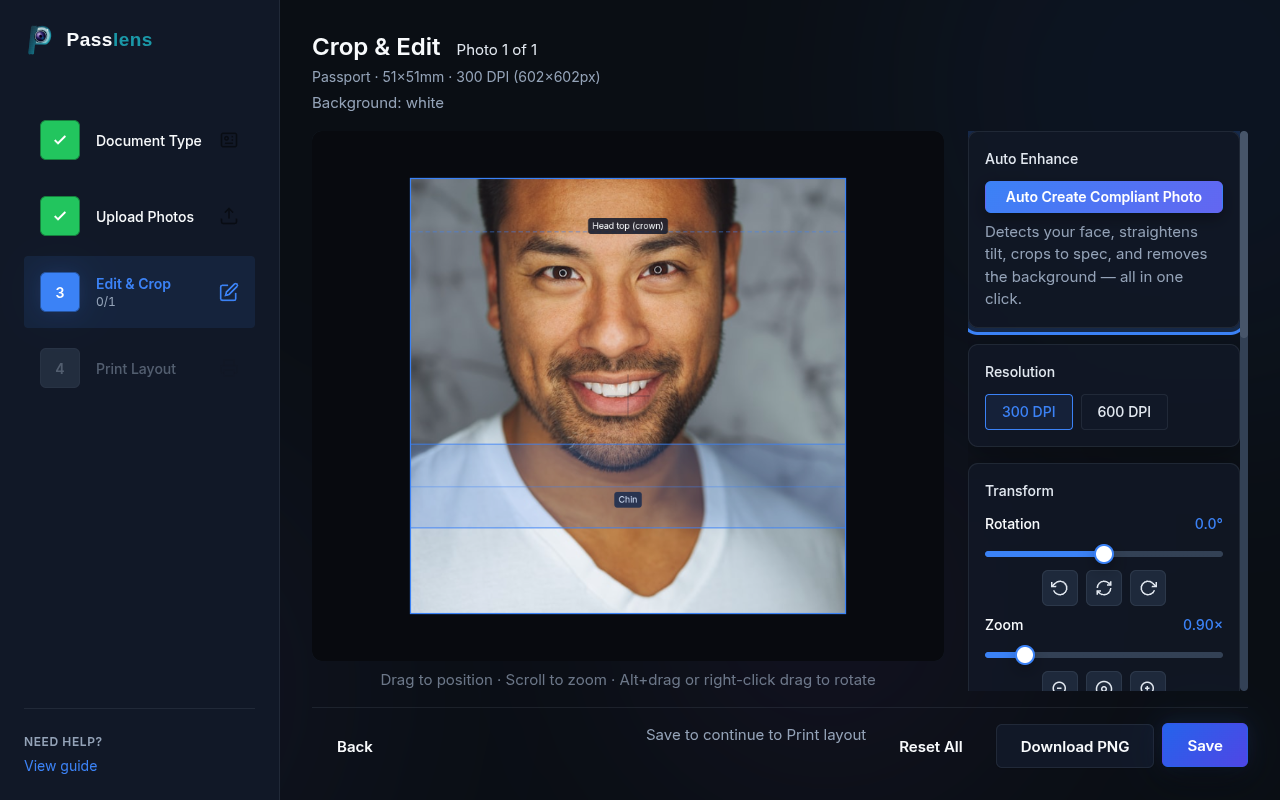
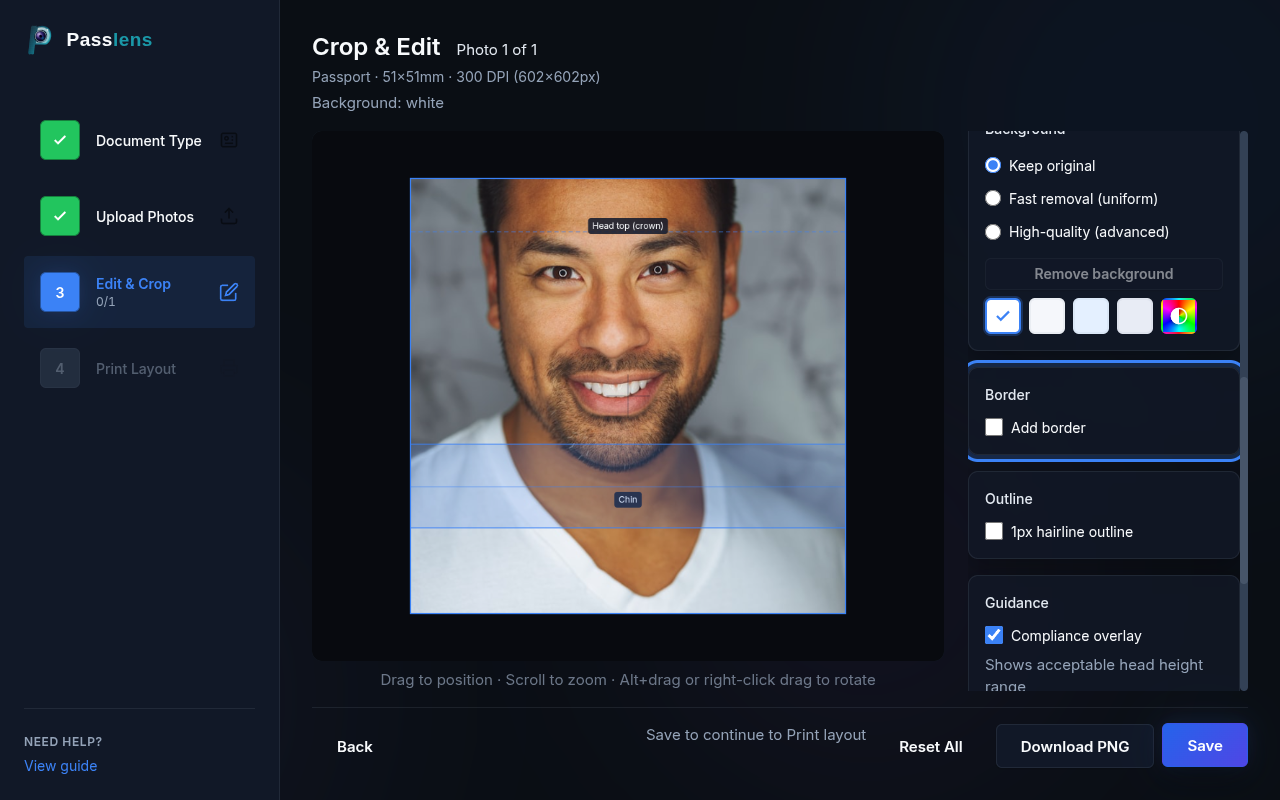
Step 3 — Edit & Crop
This is where you fine-tune each photo. The editor provides tools for automatic compliance, rotation, zoom, background removal, borders, outlines, and guidance overlays. On desktop, the editing panels appear in the sidebar. On mobile, they live in an expandable bottom sheet with tab navigation.
Mobile editing interface
On mobile, the bottom bar shows quick actions (Back, Auto Comply, Continue). Tap the "Edit controls" header or the arrow button to expand the full sheet. Tab chips let you switch between editing panels.

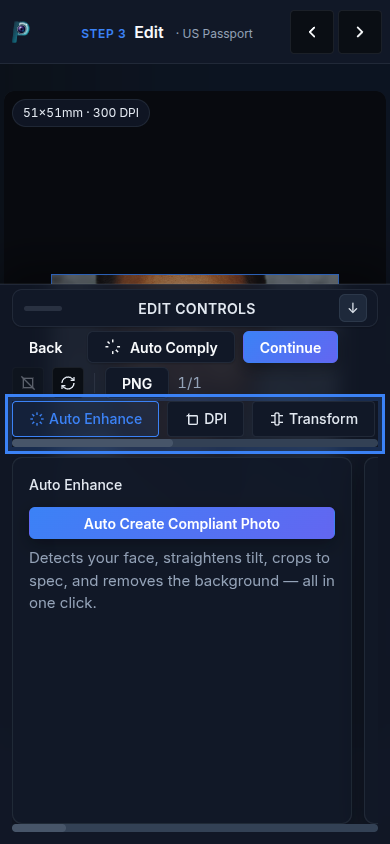
Auto Create Compliant Photo
Click "Auto Create Compliant Photo" (desktop) or "Auto Comply" (mobile) to automatically detect your face, straighten any tilt, crop to the preset's required dimensions, and optionally remove the background — all in one click.
By default, Passlens does this in your browser. If your device is slow or setup is taking too long, you can choose the optional enhanced path for the heavier work.
Tip
If the auto result isn't perfect, you can manually adjust rotation, zoom, and background afterward using the other editing panels.
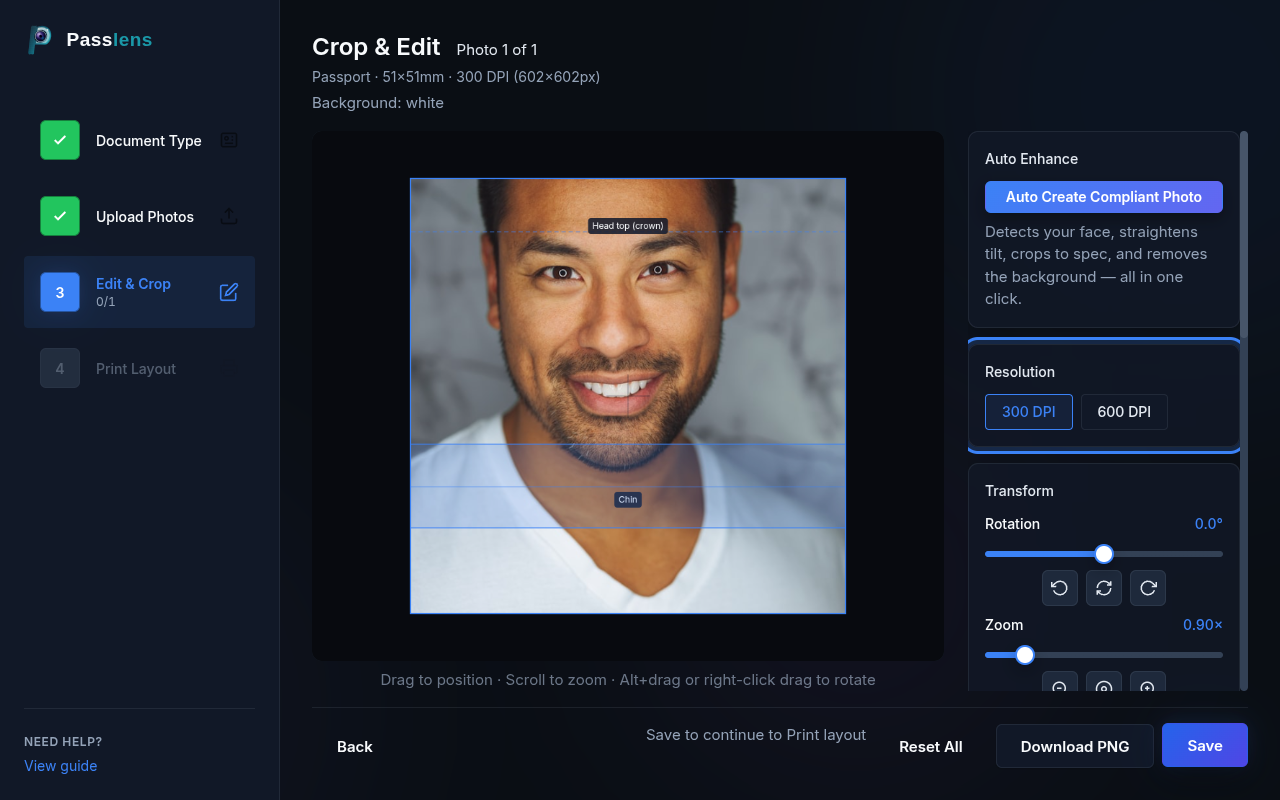
Resolution (DPI)
Toggle between 300 DPI and 600 DPI. This controls the actual pixel dimensions of your exported photo. 300 DPI is standard for most passport and ID photos. Use 600 DPI when you need extra sharpness or when the application specifically requires it.
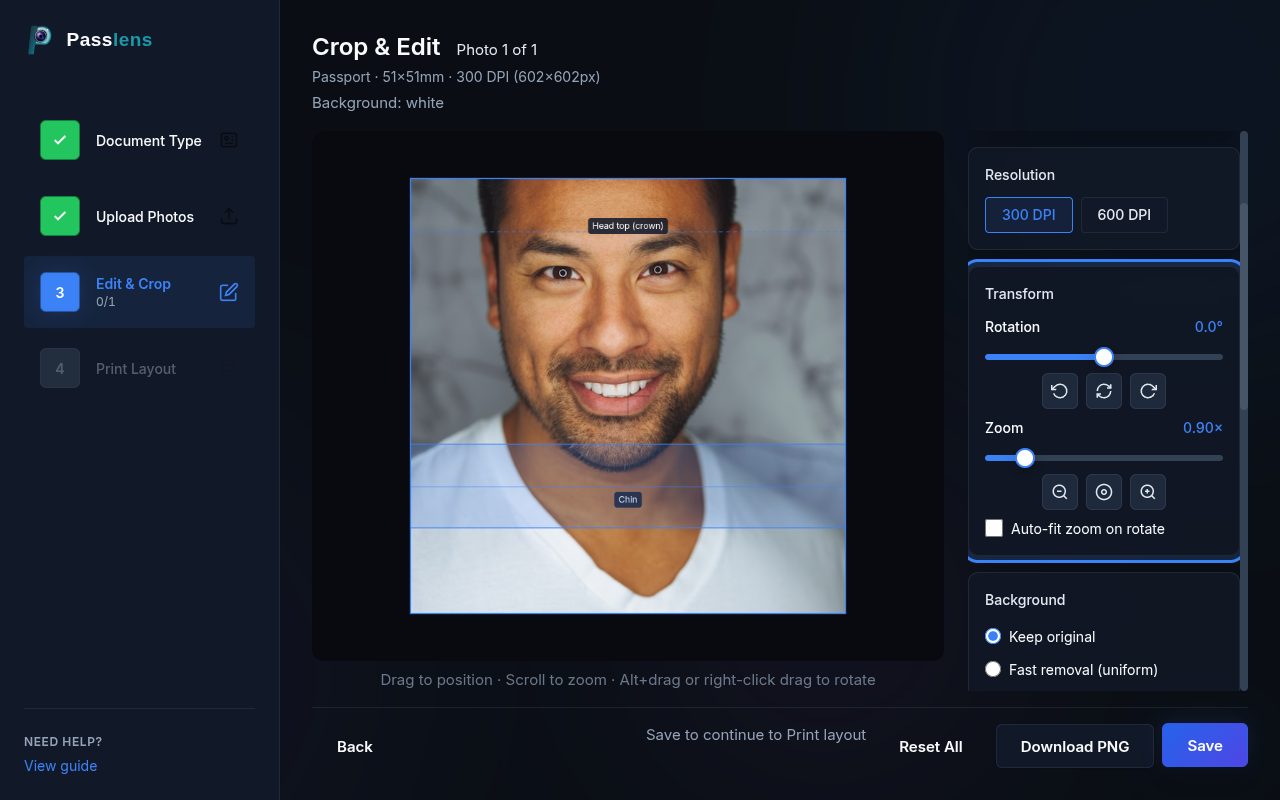
Rotation & Zoom
Use the Rotation slider to straighten a tilted photo. The quick buttons rotate by -15°, reset to 0°, or rotate by +15°. The Zoom slider lets you adjust the crop framing. Enable "Auto-fit zoom on rotate" to keep the canvas filled when you rotate.
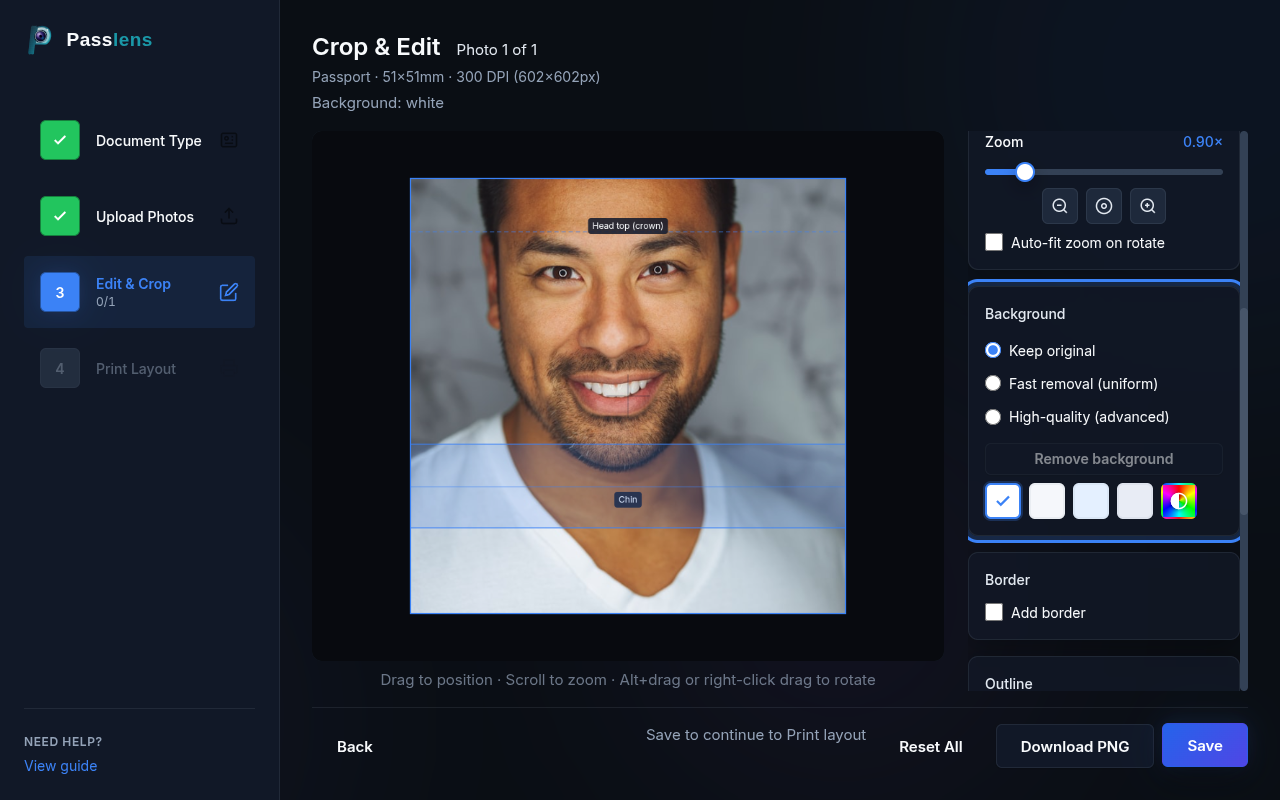
Background Removal & Color
Passlens offers two background removal modes:
- Fast removal (uniform) — quick cleanup for plain backgrounds.
- High-quality (advanced) — gives more detailed edge-aware removal. Handles hair, complex backgrounds, and shadows better.
After removing the background, pick a replacement color from the swatches (white, soft white, light blue, light gray) or use the custom color picker.
Tip
Many countries require a white or light-colored background. Check your document's requirements before selecting a color.
Border
Toggle "Add border" to add a visible border around your photo. Adjust the border width and color. Some passport agencies accept or prefer photos with a thin border for easier cutting.
Outline
Enable "1px hairline outline" to add a subtle cutting guide around the photo. This thin line helps when cutting printed photos to exact dimensions. It does not appear inside the photo area itself.

Compliance Overlay
Enable "Compliance overlay" to display head-height guidance lines on your photo. These lines show the acceptable range for head positioning based on your selected preset. The overlay is for reference only — it does not appear in your exported photos.
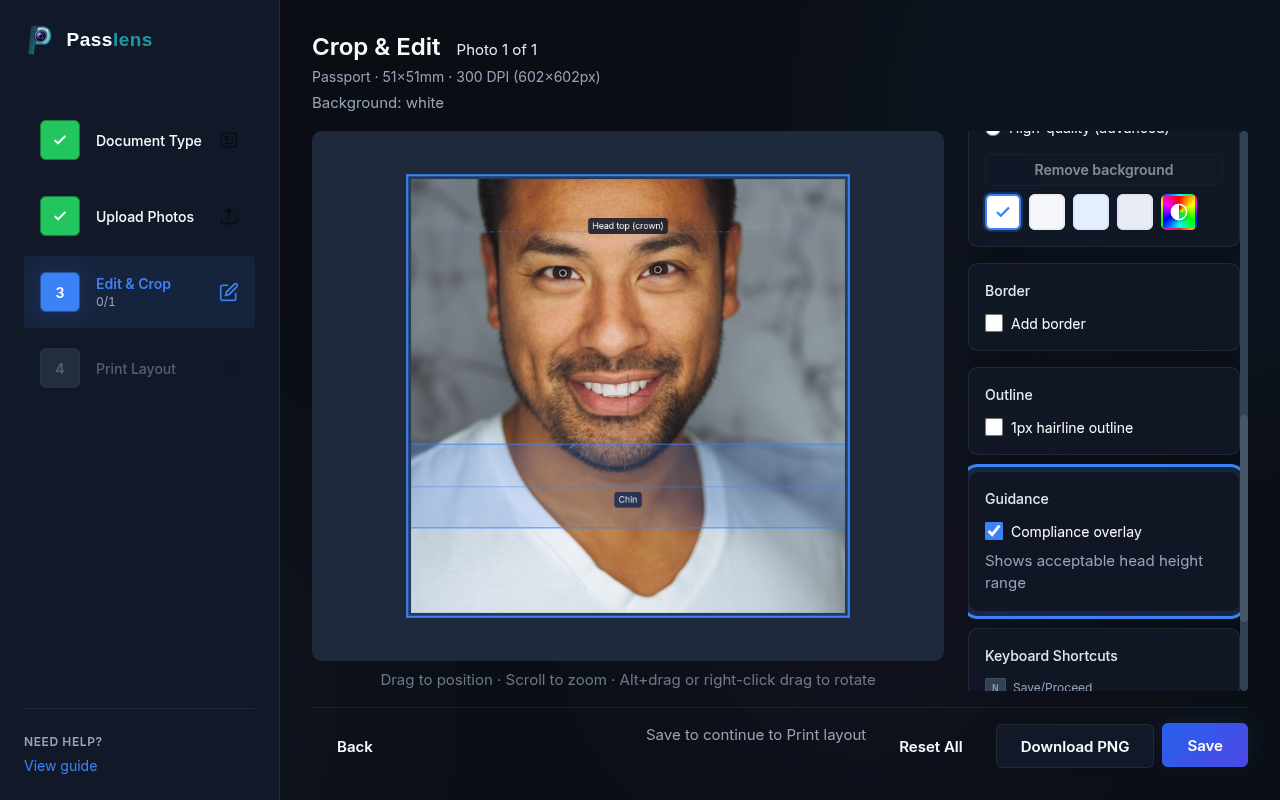
Keyboard Shortcuts
On desktop, you can use keyboard shortcuts to speed up editing:
| Key | Action |
|---|---|
| Q | Rotate left (-1°) |
| E | Rotate right (+1°) |
| Shift + Q | Rotate left (-5°) |
| Shift + E | Rotate right (+5°) |
| 0 | Reset rotation to 0° |
| + / = | Zoom in |
| - | Zoom out |
| Ctrl + Z | Undo |
| Ctrl + Shift + Z | Redo |
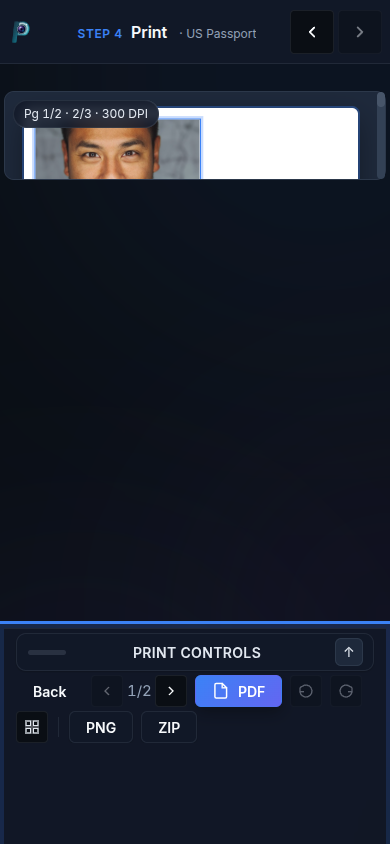
Step 4 — Print Layout
The Print Layout step arranges your edited photos onto printable sheets. Configure the paper size, layout, margins, and spacing, then export as PNG, ZIP (all pages), or PDF.
Photos & copies
Select which photos to include and set the number of copies. The layout engine automatically calculates how many copies fit per page and paginates across multiple pages when needed.
Paper size
Choose from standard paper sizes: 4x6 inch, 5x7 inch, A4, A5, or Letter. If your printer or lab needs a different sheet, enter the width and height in millimetres. The preview updates instantly to show the actual proportions.
Layout controls
Adjust margins (space from paper edge) and spacing (gap between photos). Use the "Total copies" spinner to control how many copies to place. The layout preset dropdown offers pre-configured arrangements.
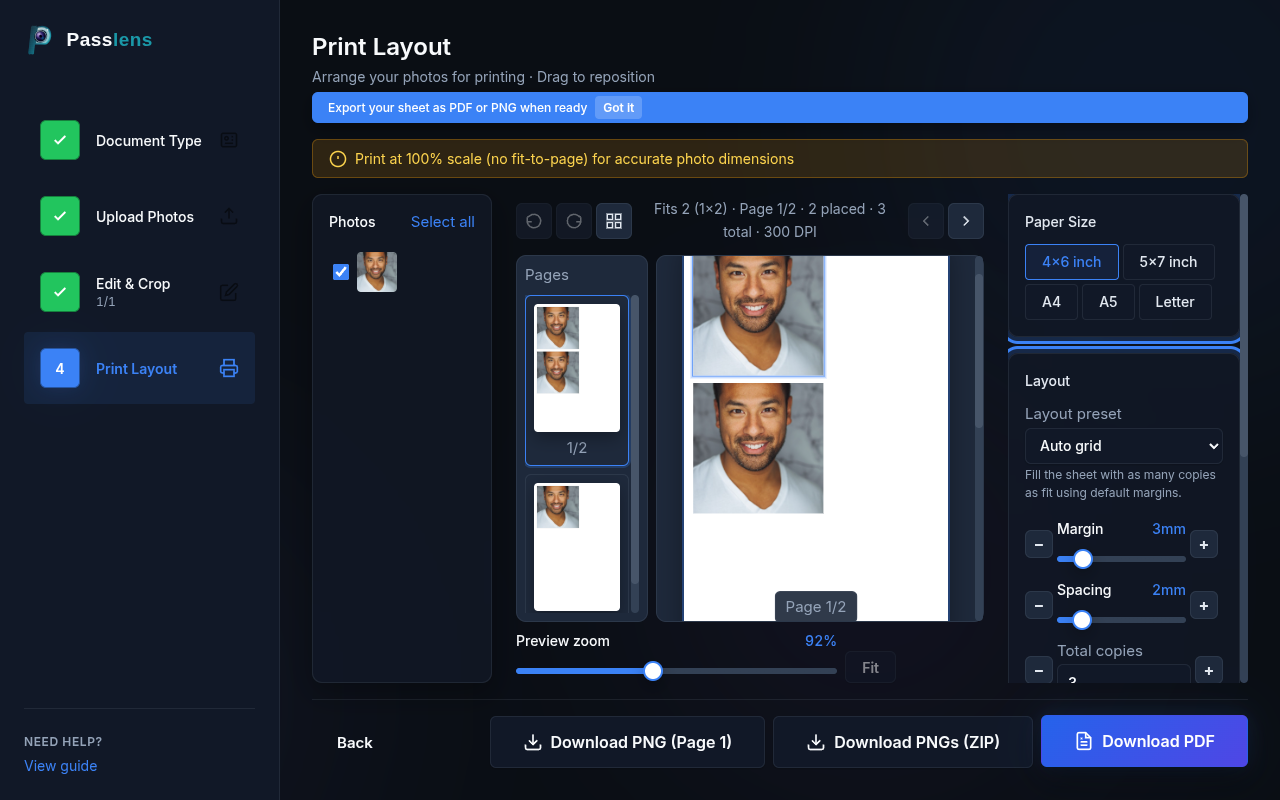
Preview & navigate pages
The preview shows your pages at actual proportions with a zoom slider. Use the page navigation arrows or page number buttons to switch between pages. You can also drag photos within the preview to reposition them.
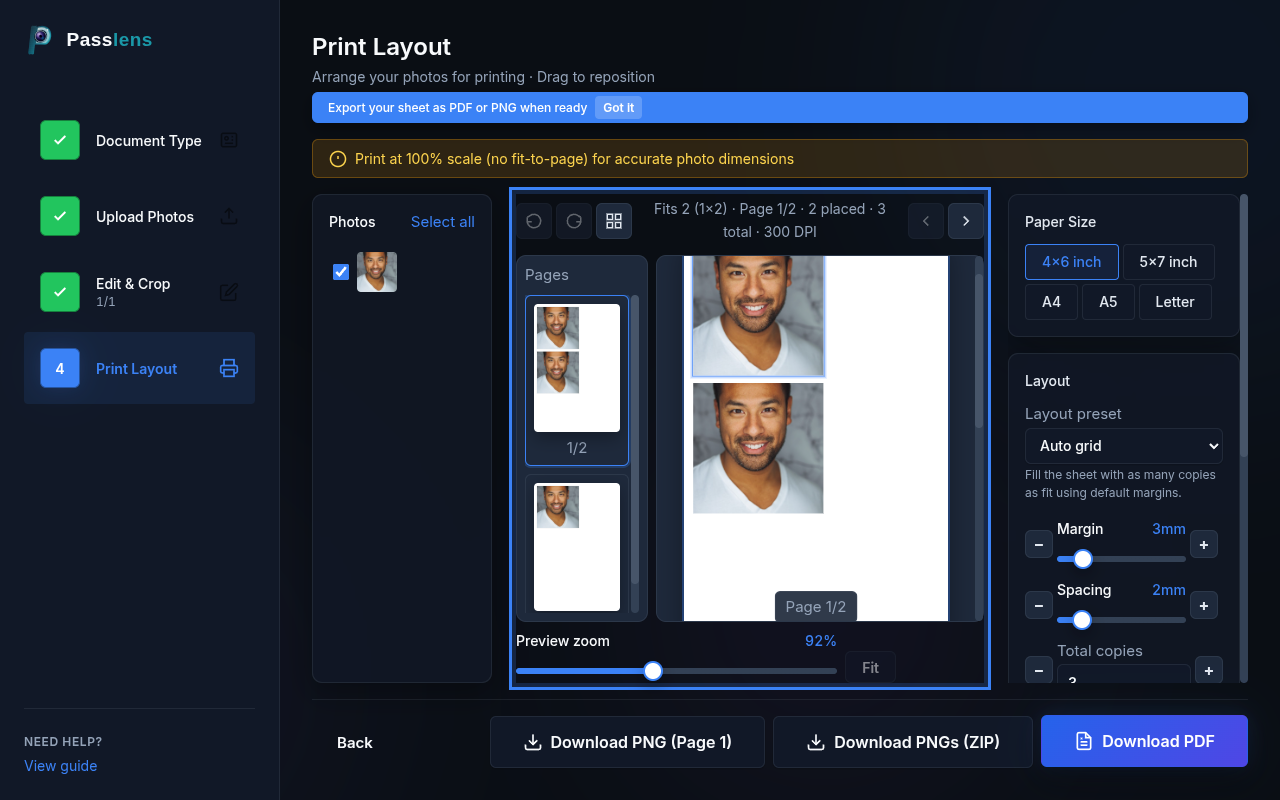
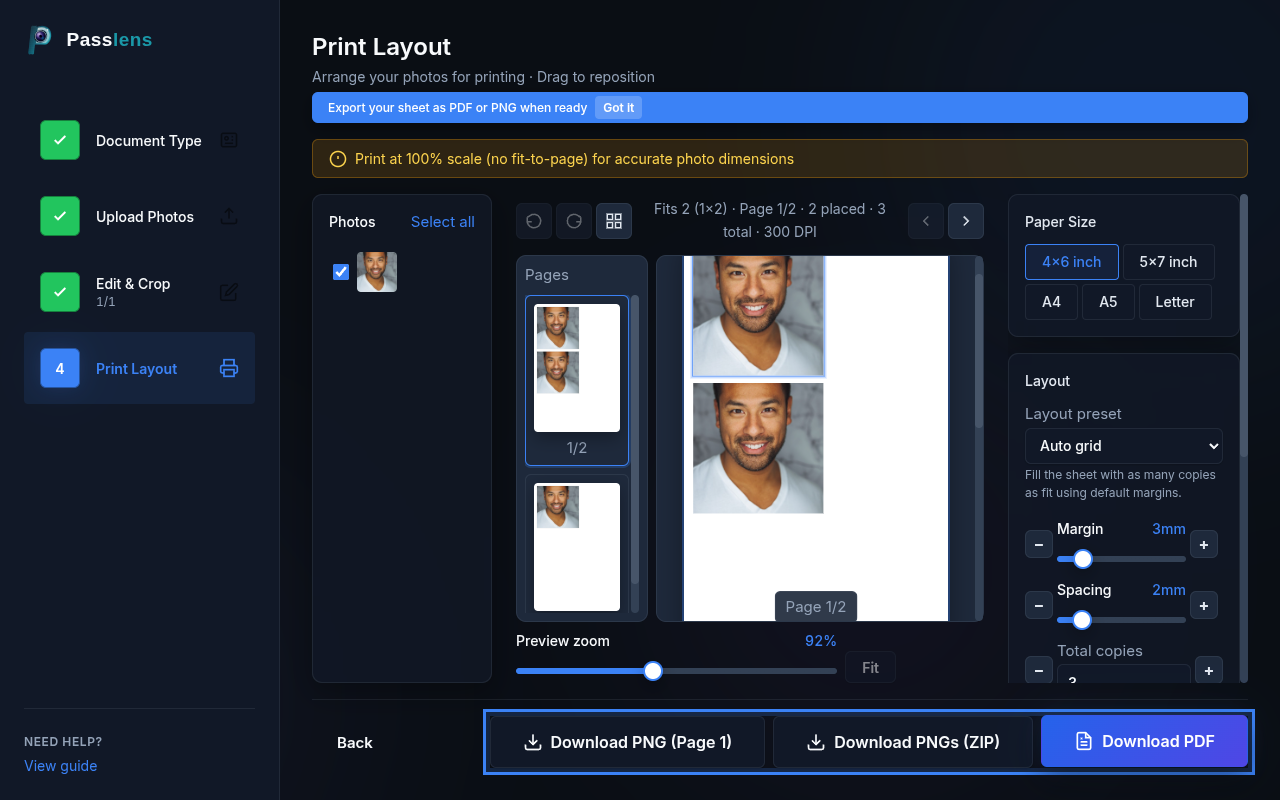
Export
Three export options are available:
- PNG — exports the current page as a single PNG at your selected DPI.
- ZIP — exports all pages as individual PNGs in a ZIP archive.
- PDF — generates a multi-page PDF ready for printing.
Printing tip
When printing, always set your printer to 100% scale (actual size). Disable "Fit to page" or "Scale to fit" in your printer dialog so the millimeter dimensions stay accurate.