Passport Photo Face Adjustment: AI Face Positioning, Head Size, and Auto Fit (2026)
Learn what face adjustment means for passport and ID photos, how AI face positioning and auto fit help, and what to check so your face size, crop, and alignment still match official document requirements.
What face adjustment means in a passport-photo workflow
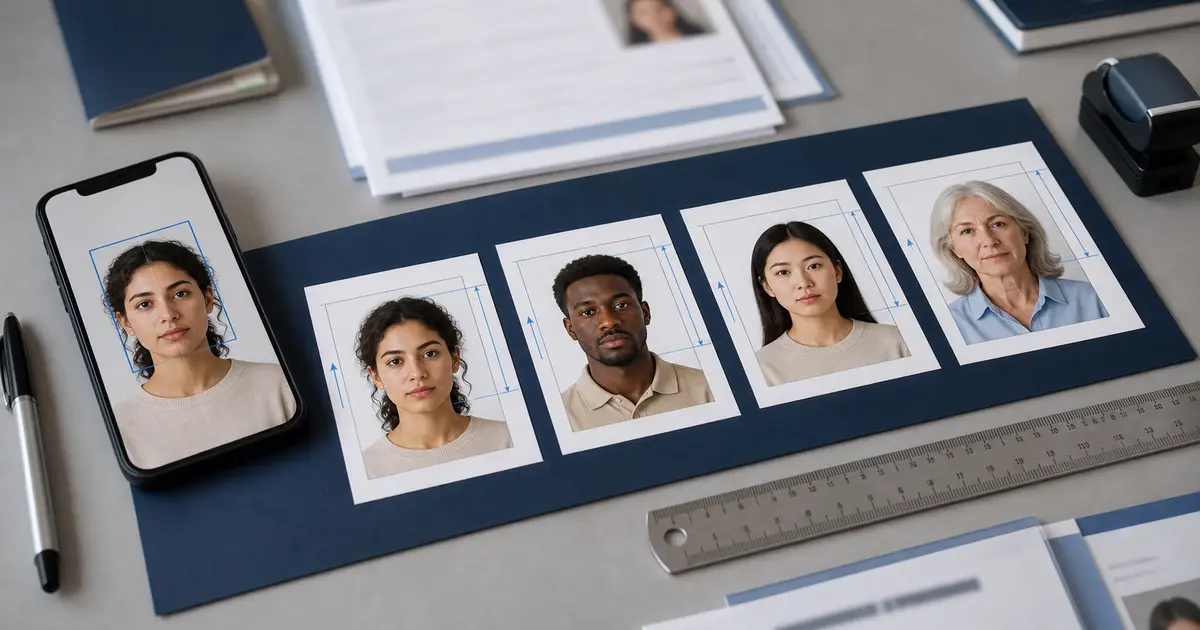
When users talk about passport photo face adjustment, they usually mean the frustrating part of the workflow where the face is technically visible but not positioned correctly inside the final crop. The face might be too small, too large, too low, slightly tilted, or not centred the way a biometric-style document expects. That is why “face adjustment” in this context is really about head placement, not beautification or cosmetic editing.
A good auto-fit system helps users reach the right region of the crop more quickly, but it should not be treated as magic. The authority cares whether the final head size, face alignment, background, and overall presentation match the document rule.
If you want the hands-on route immediately, open the passport photo maker, the passport photo crop tool, or the passport photo checker. Face adjustment is one step inside that workflow, not a separate document rule.
What AI auto fit can help with
- Centres the face faster than manual dragging alone.
- Adjusts scale so the head is closer to the expected range.
- Helps straighten a portrait when the original tilt is mild.
- Reduces trial and error before the user fine-tunes the final crop.
That matters because many rejected document photos fail on positioning rather than on background. A face that is too low, too high, or too small is an easy way to waste an otherwise good image.
In a good workflow, auto fit reduces the time spent dragging the image around manually and leaves the user with a smaller, more reviewable final adjustment.
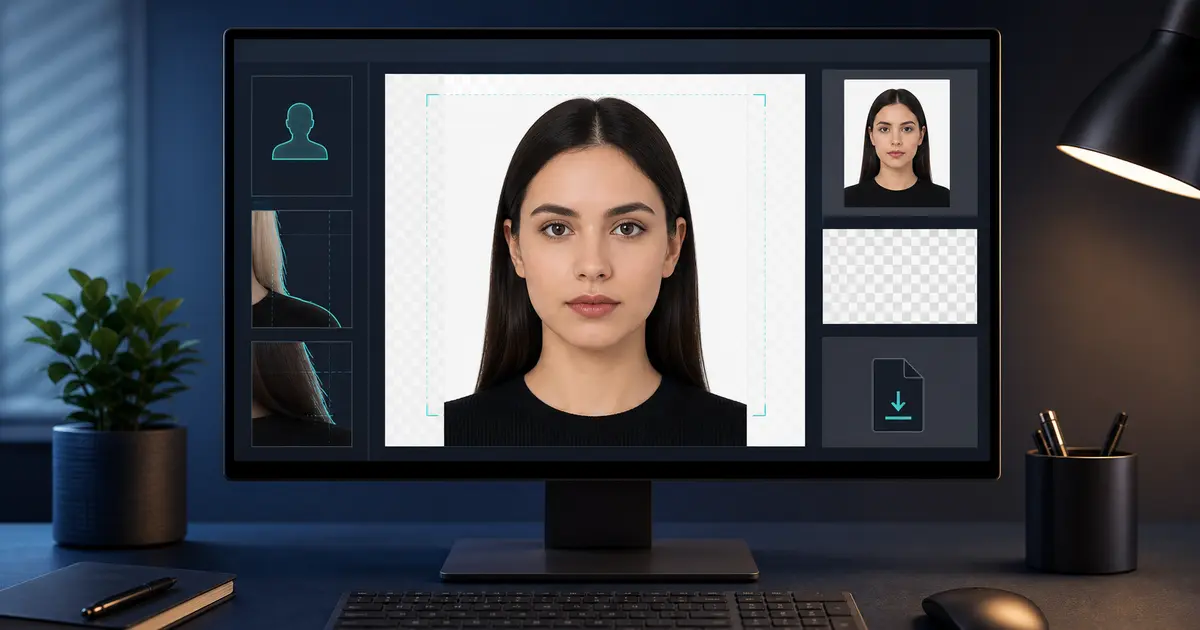
What you still need to check after auto fit
| Check | Why it matters | What to do |
|---|---|---|
| Head size | Many documents care about chin-to-crown range, not just canvas size | Compare the final crop against the preset guidance |
| Eye line and centring | A detected face can still sit too low or too high | Adjust manually if the crop still looks off |
| Rotation | Small tilt can make a biometric image look unofficial | Use the rotation control until the shoulders and eyes feel level |
| Hair and crown | Different hairstyles can change perceived head size | Inspect the saved result rather than trusting the first fit |
In other words, auto fit helps you get close. It does not remove the need for judgement. The safest workflow still includes a human review of the final saved result.
Why manual review still matters after auto fit
Auto fit is most useful as a starting point, not as a blind final answer. Different hairstyles, head coverings, glasses, and lighting conditions can change how the face and crown are perceived. A detector may identify the face correctly and still leave the final crop slightly too tight or too loose for the document. That is why the review step matters: compare the result against the preset guidance and inspect the saved output instead of trusting the first automatic suggestion.
The strongest workflow is therefore “auto fit, then confirm.” That keeps the speed advantage of AI without surrendering the final compliance check.
Where face adjustment helps most in practice
Face adjustment helps most when the source portrait is basically usable but not perfectly framed: the chin sits slightly low, the camera tilt is mild, or the crop leaves too much extra space above the head. It helps less when the underlying image is fundamentally bad because of heavy shadow, extreme angle, motion blur, or strong perspective distortion. In those cases, the right answer is usually to retake the photo instead of trying to rescue it with alignment alone.
That distinction is useful because it prevents users from treating AI adjustment as a substitute for a decent source photo. It is an optimisation tool, not a miracle tool.
Used correctly, it saves time. Used blindly, it only hides a weak source image for a little longer.
Best workflow for face adjustment in Passlens
- Choose the correct passport, visa, ID, or licence preset first.
- Run auto fit to get close quickly.
- Check the head against the guidance overlay and final crop.
- Fine-tune zoom, offset, and rotation if needed.
- Save once before exporting so you can review the exact output result.
The “save once before export” step is important because it lets you inspect the exact result instead of relying only on the live editor preview.