10 Common Passport Photo Mistakes That Cause Rejections (and How to Avoid Them)
Learn the common passport photo rejection reasons: wrong size, bad background, shadows, glasses, expression, accessories, and export mistakes before you submit again.
Why Passport Photos Get Rejected
Passport photo rejections are surprisingly common. Government agencies around the world report that up to 20% of passport applications are delayed due to non-compliant photos. Each rejection means additional cost, wasted time, and potential delays to your travel plans.
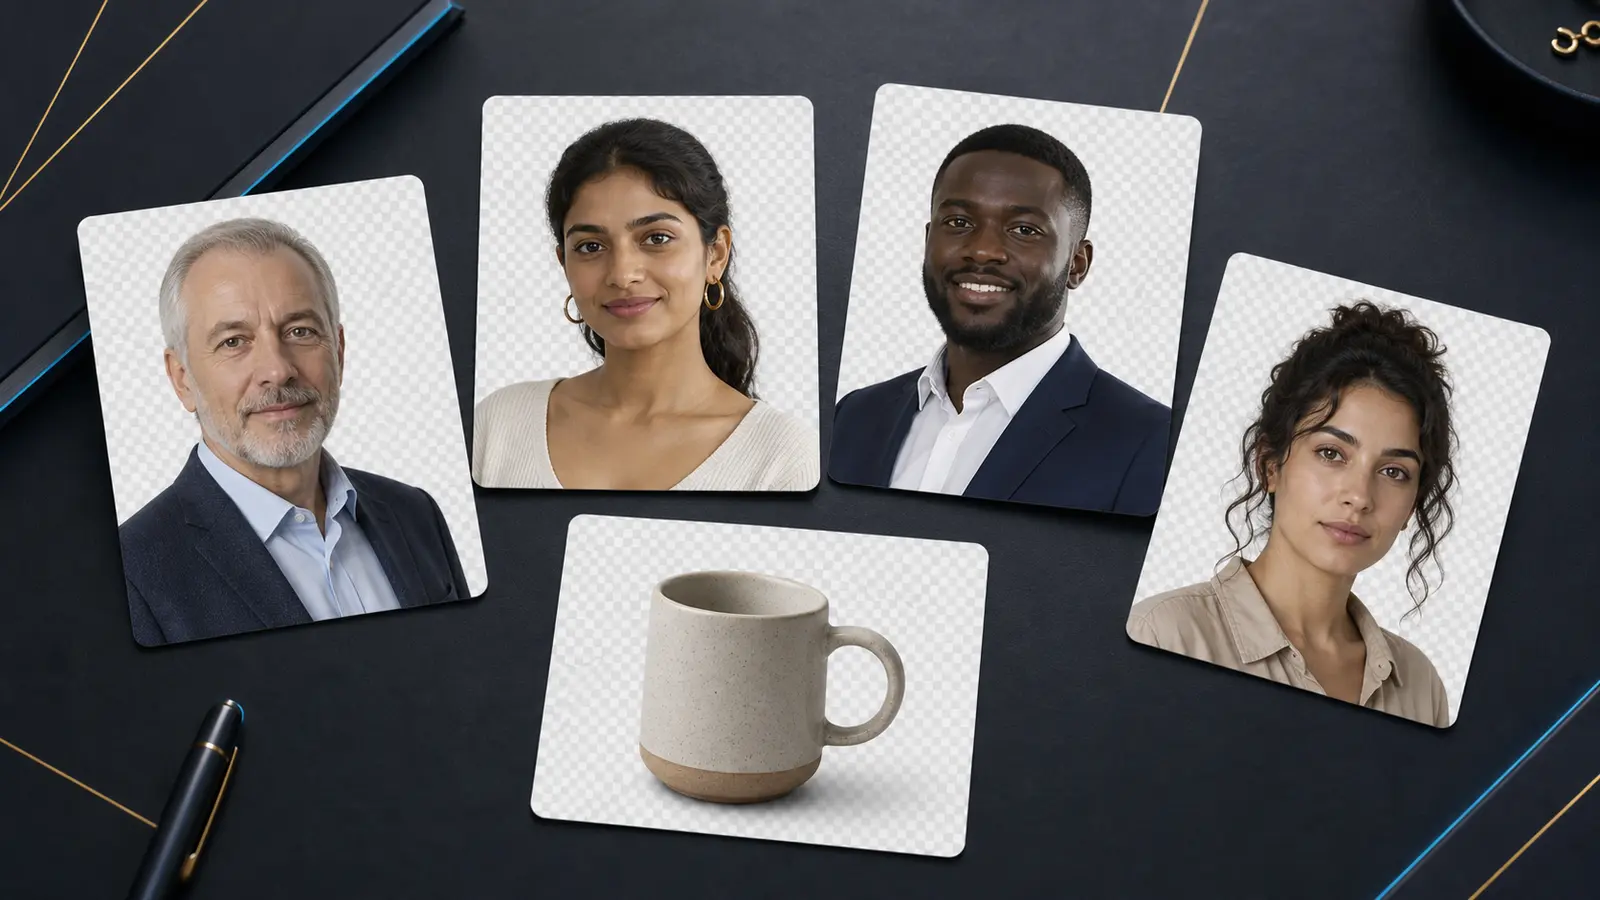
The good news is that most rejections fall into a small number of common categories. By understanding these mistakes and knowing how to avoid them, you can get your photo right on the first attempt. Here are the top 10 reasons passport photos are rejected, ranked from most to least common.
That is also why searches like passport photo rejected and acceptable passport photos belong in the same workflow cluster. People are usually trying to answer one blunt question: what do I need to fix so the next upload or print looks acceptable instead of getting bounced again?
A lot of those searches then narrow into appearance questions such as what to wear for a passport photo, can you smile in a passport photo, and whether jewelry or glasses are safe. Those are part of the same acceptance workflow, because a photo can look fine at first glance and still fail over expression, glare, or distracting accessories.
If your real route is a U.S. passport or square digital upload, start with the US passport photo maker. If the blocker is the square pixel target, use the 600x600 passport photo maker. If you only need a final review before you submit again, use the passport photo checker. If you want a cleaner pass/fail benchmark first, use the acceptable passport photos guide.
Mistake #1: Wrong Photo Size or Dimensions
The most fundamental requirement is that your photo must be the exact dimensions specified by your country. A US passport photo must be precisely 2x2 inches (51x51mm). A UK passport photo must be 35x45mm. Even a few millimeters of deviation will trigger rejection.
Common Size Mistakes
- Using the wrong country's photo size (e.g., using 35x45mm for a US passport)
- Printing at "Fit to Page" instead of "Actual Size," which scales the photo incorrectly
- Cropping too tight or too loose, resulting in incorrect head-to-frame proportions
- Using a generic photo editor that does not enforce passport-specific dimensions
How to Avoid It
Always verify the exact size requirements for your specific country and document type before starting. Use Passlens, which automatically enforces the correct dimensions based on your selected country preset. After printing, measure the photo with a ruler to confirm.
Mistake #2: Incorrect or Uneven Background
Background issues are the second most common reason for rejection. Most countries require a plain white or off-white background, but some require specific shades of grey or blue. France, notably, bans pure white backgrounds and requires light grey or light blue.
- Wrong color: Using a white background when grey is required, or vice versa
- Patterned background: Visible wallpaper, curtains, or fabric texture behind the subject
- Uneven lighting: One side of the background brighter than the other
- Objects visible: Picture frames, shelves, or other people visible in the background
- Background removal artifacts: Visible halos, rough edges, or missing hair around the head
How to Avoid It
Stand at least 50 cm from a clean, plain wall. If your background is not suitable, use Passlens's AI background removal to replace it with the correct solid color for your country. Check the edges of the subject carefully after background removal to ensure clean transitions.
Mistake #3: Shadows on Face or Background
Shadows are a major cause of rejection because they can obscure facial features and create an uneven background. Automated biometric systems rely on consistent lighting to accurately map facial geometry.
Types of Problem Shadows
- Cast shadow on background: The subject's shadow visible on the wall behind them. Caused by standing too close to the background with a directional light source.
- Under-eye shadows: Dark shadows under the eyes from overhead lighting only. Makes the subject look tired and can interfere with biometric matching.
- Nose shadow: A strong shadow from the nose across the cheek, caused by side lighting. Creates asymmetry in the photo.
- Chin/neck shadow: A dark area under the chin from overhead light. Can obscure the chin line, which is a key biometric measurement point.
How to Avoid It
Use diffused, front-facing lighting. The ideal setup is a large window in front of you with the camera between you and the window. Stand well away from the background wall. If using artificial light, use two matched lights at 45-degree angles on either side of the camera.
Mistake #4: Wearing Glasses
Glasses policies have become stricter worldwide. The United States banned glasses in passport photos in 2016. Germany, China, and several other countries have followed. Even in countries that still permit glasses, glare on the lenses is grounds for rejection.
| Country | Glasses Policy | Notes |
|---|---|---|
| United States | Not allowed | Banned since November 2016 |
| Germany | Not allowed | Banned to improve biometric scanning |
| China | Not allowed | Must remove all eyewear |
| United Kingdom | Allowed with conditions | No glare, tint, or heavy frames. Eyes must be fully visible |
| France | Allowed with conditions | No glare or reflections. Thin frames only |
| Japan | Allowed with conditions | No glare. Eyes must be clearly visible |
| Canada | Allowed with conditions | No glare, tinted lenses, or thick frames |
| Australia | Allowed with conditions | Strongly recommended to remove |
How to Avoid It
The simplest solution is to remove your glasses for the photo regardless of which country you are applying in. This eliminates any risk of glare-related rejection. If you must wear glasses for medical reasons and your country permits them, position lighting to avoid reflections and tilt your head very slightly downward to redirect glare.
If your question is broader than glasses alone, use the passport photo dress-code guide and the passport photo jewelry, glasses, and accessories guide next. They cover the clothing, smile, jewelry, and head-covering details behind many “acceptable or rejected?” searches.
Mistake #5: Incorrect Head Tilt or Rotation
Passport photos must show a straight-on, front-facing view of the face. Any tilt, rotation, or turning of the head will result in rejection. Biometric systems measure the geometry of the face and require a symmetrical, centered view.
- Head tilt: The head leaning to one side, even slightly, creates asymmetry that biometric systems flag
- Head rotation: Turning the face slightly to one side, showing more of one ear than the other
- Looking up or down: The eyes should be at the vertical center of the frame, looking straight at the camera
- Chin raised or lowered: Pointing the chin up or tucking it down changes the apparent proportions of the face
How to Avoid It
Place the camera at exactly eye level. Look directly into the camera lens, not at the screen. Imagine a line from the center of your forehead to the center of your chin. This line should be perfectly vertical. Both ears should be equally visible (or equally hidden by hair).
Mistake #6: Wrong Facial Expression
Most countries require a neutral expression with the mouth closed. This means no smiling, no frowning, no raised eyebrows, and no squinting. The goal is a relaxed, natural-looking face that represents how you normally appear.
- Smiling with teeth showing: Rejected in virtually all countries. Even the US, which briefly allowed "natural smiles," has reverted to requiring neutral expressions.
- Open mouth: The mouth must be closed. This includes slightly parted lips.
- Raised eyebrows: Creates an unnatural expression that changes the apparent eye size and forehead proportions.
- Squinting: Both eyes must be fully open and clearly visible. Squinting reduces the visible iris area.
- Frowning or grimacing: Any exaggerated expression that distorts the natural resting appearance of the face.
How to Avoid It
Relax your face completely before the photo is taken. Let your jaw relax so your mouth is naturally closed without clenching. Keep your eyes open normally, as if looking at someone across a room. Take a breath and let it out just before the shutter clicks. A helpful trick is to say the word "me" quietly just before the photo, which naturally relaxes the mouth into a neutral position.
Mistake #7: Incorrect Cropping and Framing
Even with the right photo size, incorrect cropping can cause rejection. Each country specifies how much of the head and shoulders should be visible, and where the face should be positioned within the frame.
Common Cropping Errors
- Head too large: The face fills too much of the frame, cutting off the top of the head or chin
- Head too small: Too much empty space around the head, making the face appear distant
- Off-center: The face is shifted to one side, up, or down from the center of the frame
- Top of head cut off: The crown of the head is cropped out of the frame
- Shoulders not visible: Some countries require the tops of the shoulders to be visible in the photo
For US passport photos, the head (chin to crown) should occupy 50% to 69% of the image height. For UK photos, the head should be 29-34mm tall in the 35x45mm print. These ranges are precise and enforced.
How to Avoid It
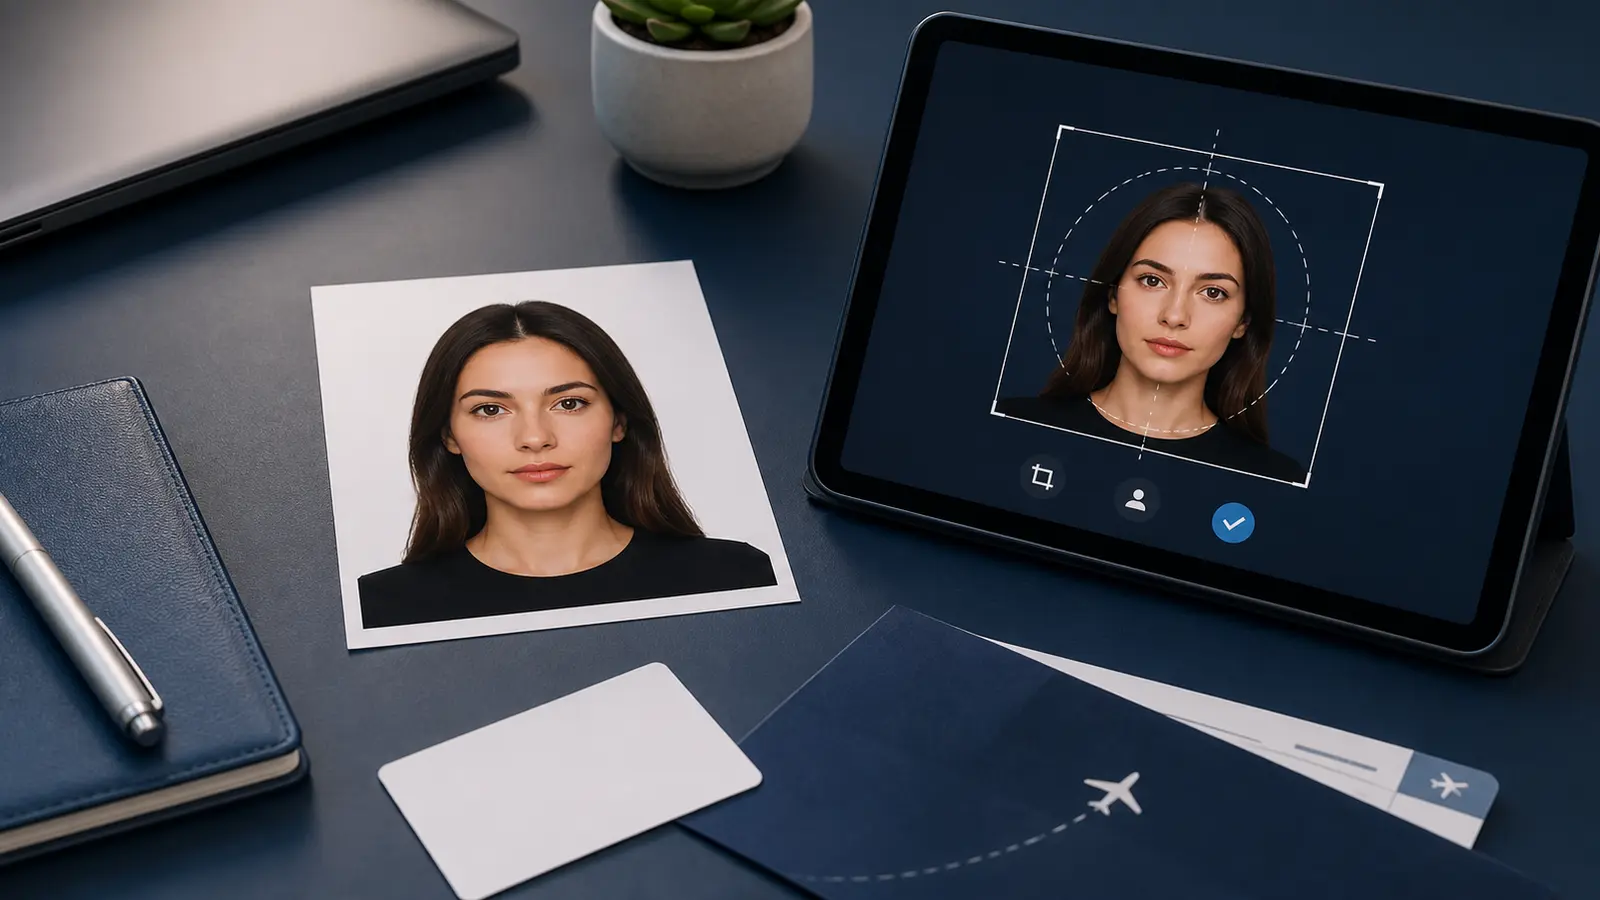
Use Passlens, which displays guideline overlays showing exactly where the head, eyes, and chin should be positioned. The app automatically crops to the correct proportions based on your selected country preset and warns you if the head size is outside the acceptable range.
Mistake #8: Red Eye
Red eye occurs when a camera flash reflects off the blood vessels in the retina. It is more common in dark environments where the pupil is dilated. While many cameras and phones have red-eye reduction features, they are not always effective.
Most countries explicitly state that photos with red eye will be rejected. Some also reject photos where the eyes appear unnaturally colored due to overly aggressive red-eye correction software, which can turn the pupil area grey or black in an unnatural way.
How to Avoid It
The best approach is to avoid flash entirely. Use natural light or continuous artificial lighting instead. If you must use flash, enable your camera's red-eye reduction mode, which fires a pre-flash to constrict the pupils. Also ensure the room is well-lit so the pupils are already small when the photo is taken.
Mistake #9: Low Resolution or Poor Image Quality
A passport photo must be sharp, clear, and properly focused. Low-resolution images, blurry photos, and images with visible noise or compression artifacts will be rejected.
- Pixelation: Visible square pixels, usually from over-enlarging a small image or using a very low-resolution camera
- Motion blur: Soft, blurred image from camera movement during exposure. Use a tripod or stable surface.
- Focus errors: The subject's face is not the sharpest part of the image. Ensure the camera focuses on the face, not the background.
- JPEG artifacts: Blocky, distorted areas caused by excessive JPEG compression. Export at high quality (90%+).
- Digital noise: Grainy speckles visible in the image, usually from shooting in low light at high ISO.
How to Avoid It
Use your phone's rear camera at maximum resolution. Ensure good lighting so the camera does not need to increase ISO (which introduces noise). Hold the phone steady or use a tripod. For digital submissions, export at the highest quality setting that fits within the file size limit. Avoid resizing small images to make them larger, as this only adds blurry pixels.
Mistake #10: Wrong File Format or File Size
For digital submissions, online portals require specific file formats and size limits. Submitting a photo in the wrong format or exceeding the file size limit will prevent upload or cause rejection during processing.
| Issue | Example | Solution |
|---|---|---|
| Wrong format | Submitting PNG when JPEG is required | Export as JPEG from Passlens or convert using an image editor |
| File too large | US portal limit is 240 KB, your file is 2 MB | Reduce JPEG quality or pixel dimensions. Passlens optimizes automatically |
| File too small | Photo is under the minimum (e.g., 10 KB) | Your source image may be too low resolution. Retake at higher quality |
| Wrong pixel dimensions | Uploading a 400x400 px photo when 600x600 is minimum | Ensure your source image is large enough before cropping |
| Wrong color space | CMYK color space instead of sRGB | Export in sRGB color space. Passlens always uses sRGB |
How to Avoid It
Use Passlens to export your photo, which automatically handles file format, compression, pixel dimensions, and color space based on your selected country's requirements. The file is ready to upload without any manual conversion.
How to Avoid All These Mistakes at Once
The common thread across all 10 mistakes is a lack of awareness of the specific requirements for your country and document type. The rules are strict, but they are also well-documented and predictable. Using the right tools makes compliance easy.
If your photo has already been rejected, the fastest rescue path is usually not to start from zero. It is to identify which class of problem you have. If the issue is framing or background confidence, move to the passport photo validator guide. If the issue is the upload step itself, use the upload checker guide. If the issue is file size or compression, go straight to the file size checker guide.
- Know the requirements first. Check your country's official passport authority for current photo specifications.
- Use a purpose-built tool. Passlens enforces the correct size, background, cropping, and file format for every supported country.
- Take photos in good conditions. Even lighting, plain background, neutral expression, no glasses.
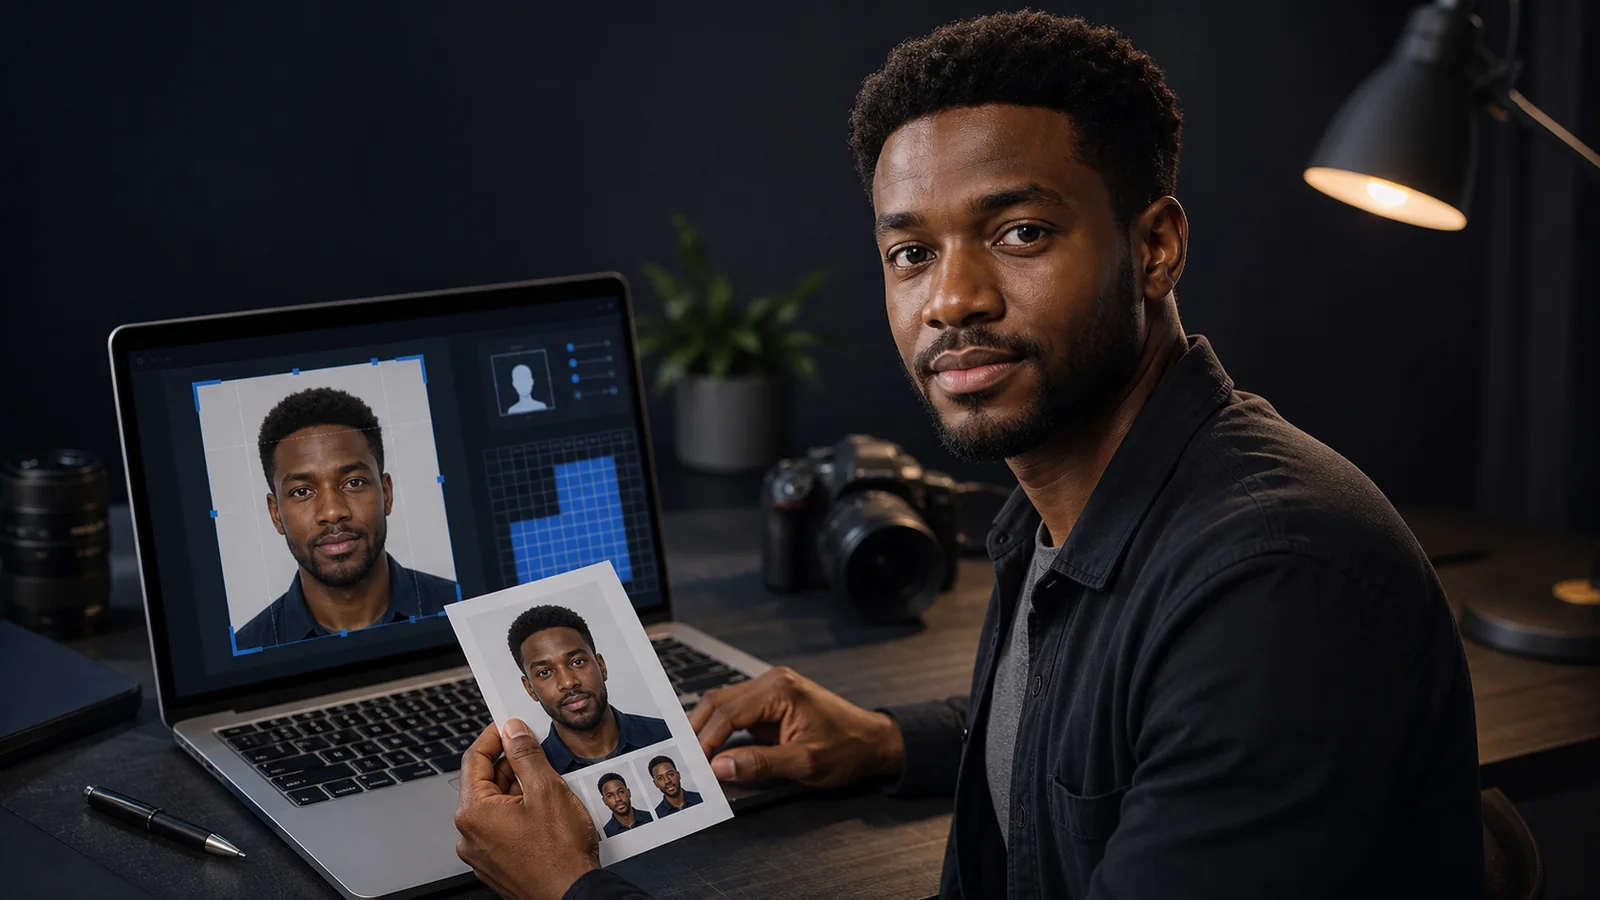
- Review before submitting. Check the photo against the requirements one final time. Zoom in to verify sharpness, check the background for shadows, and measure printed photos with a ruler.
- Keep spares. Print extra copies and save the digital file. You may need them for future applications.