Passport Photo Supplies Checklist (2026): Printer, Paper, Cutter, Lighting, and Background Gear
A practical checklist for passport photo supplies: compact photo printers, 4x6 photo paper, paper trimmers, plain backgrounds, and lighting that helps home passport photos look cleaner.
What you actually need for a home passport-photo setup
A home passport-photo setup does not need much gear. The useful list is short: a printer or print route you trust, paper that matches that printer, a clean cutting method, a plain background, and enough soft light to avoid shadows. Everything else is optional.
This page is built for users who are close to buying supplies, not for people looking for government-rule advice. Use Passlens for the crop, layout, background checks, and export. Use this checklist for the physical pieces that decide whether the final print looks clean after it leaves the screen.
Before buying anything
Check your selected passport or ID preset first. A U.S. 2x2 print, a 35x45 mm European photo, and a 50x70 mm Canadian photo can all use different print layouts and background expectations.
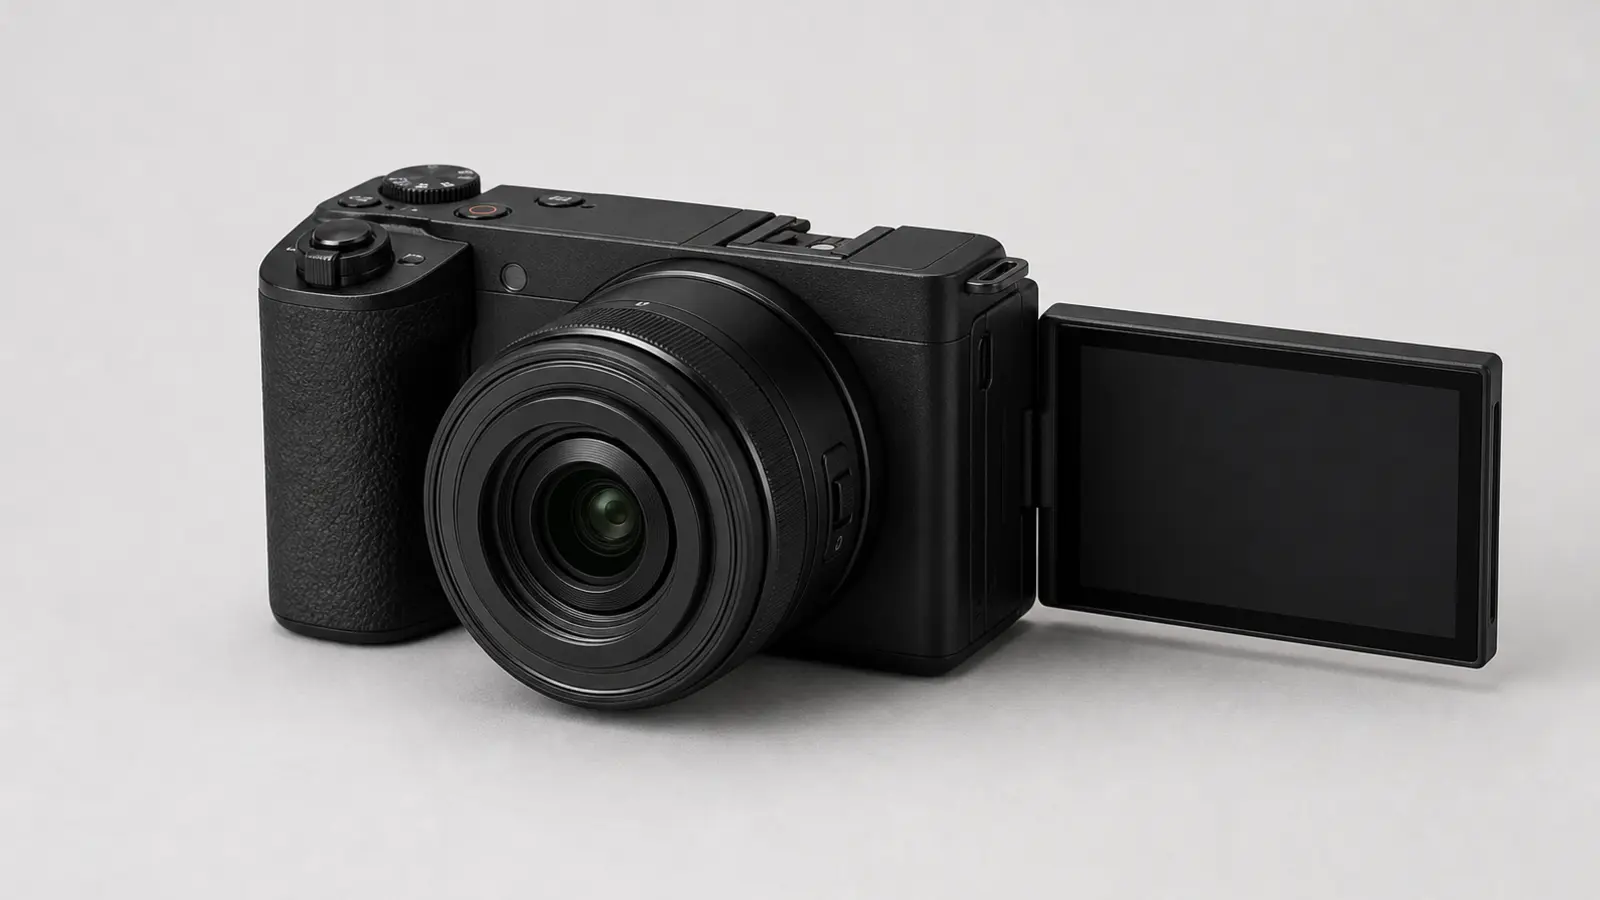
Printer options worth comparing
For passport photos, the best printer is the one that makes repeatable 4x6 or sheet output easy. A compact photo printer can be enough when you only want small photo sheets. A larger inkjet can make sense if you also print A4, Letter, or mixed layouts.
Canon describes the SELPHY CP1500 as a compact photo printer with a standard 4x6 postcard print size. Epson describes the PictureMate PM-400 as a compact printer for 4x6 and 5x7 photo output. Those are useful reference points because passport-photo sheets often start with exactly those small-photo formats.
How to choose a printer without overbuying
Start with the output size you will use most often. If you only need a few U.S. passport photos each year, a compact 4x6 photo printer or a local print shop export may be enough. If you regularly make family photos, visa photos, school forms, or mixed ID-photo sheets, a printer that handles Letter or A4 can be more flexible.
Look at the complete print path, not just the printer name. A small dye-sub printer may have simpler matched paper and ribbon packs. A general photo inkjet may give you more paper sizes, but you need to keep the right media setting, ink condition, and driver scaling under control. Passport-photo work rewards repeatability more than maximum resolution on a spec sheet.
Check whether the printer can disable fit-to-page scaling and print at the requested size. Passlens can prepare a 4x6, Letter, or A4 sheet, but the final driver dialog still matters. If the driver scales a sheet to fill the page, a 2x2 inch photo can come out slightly too large or too small. That is one of the most common home-printing mistakes.
For shared households, also think about where the printer will live. Passport-photo printing often happens in a hurry before an appointment. A printer that is easy to keep loaded with the right paper is more useful than a higher-end model that needs setup every time.
Paper and ink are part of the printer decision
Do not treat paper as an afterthought. Epson lists its 4x6 Ultra Premium Photo Paper Glossy as a heavier glossy consumer photo paper, and Canon SELPHY printers use matched ink and paper packs. That kind of match matters because small portrait prints show soft edges, weak blacks, and odd drying behavior quickly.
If the printer driver offers media choices, choose the one that matches the paper. Glossy paper printed under a plain-paper setting can look flat or messy. The file may be fine while the physical output is not.
Paper details that affect acceptance
Use photo paper that stays flat and cuts cleanly. Very thin paper can curl, show roller marks, or feel less like a standard photo print. Very heavy paper can jam in compact printers that were designed for matched media packs. The right choice is usually boring: a known 4x6 glossy photo paper for a compatible inkjet, or the matched pack made for a compact photo printer.
Gloss level is a practical choice. Many passport-photo workflows accept normal glossy photo output, but glare from the original capture is still a problem. Paper cannot fix a shiny forehead, bright glasses, or a hard shadow. Solve lighting during capture first, then use the paper that your printer handles reliably.
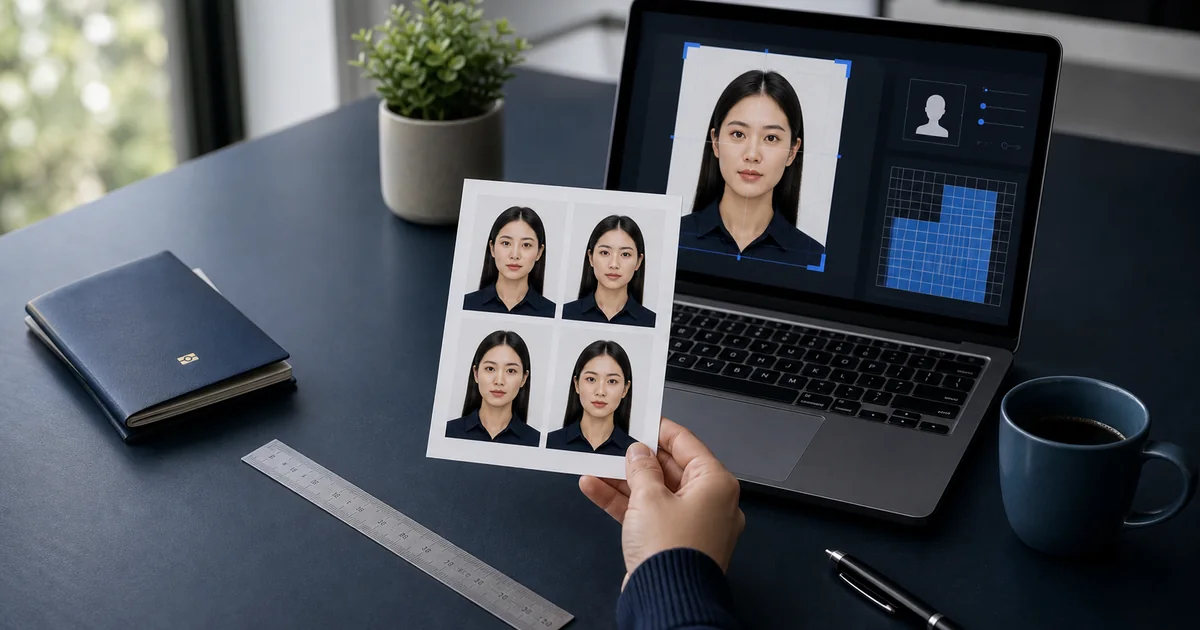
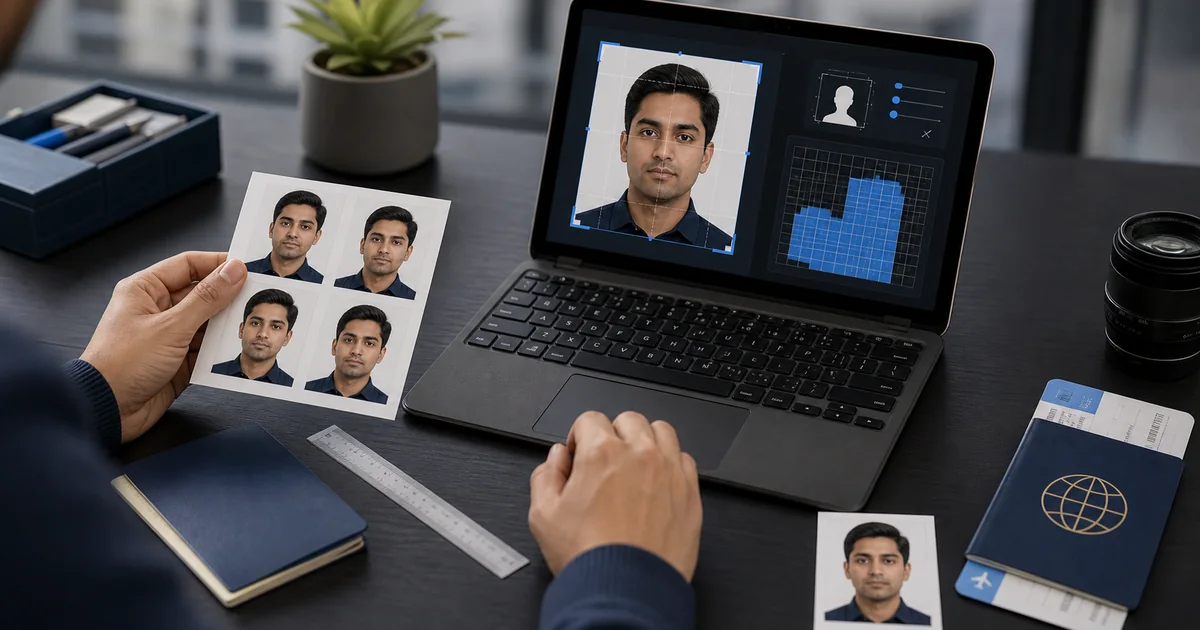
Keep one test sheet for measurement. Print a Passlens sheet, let it dry, cut one photo, and measure the printed head size and total photo size with a ruler. If it is off, fix the print dialog before using more paper. This is faster than guessing after several failed attempts.
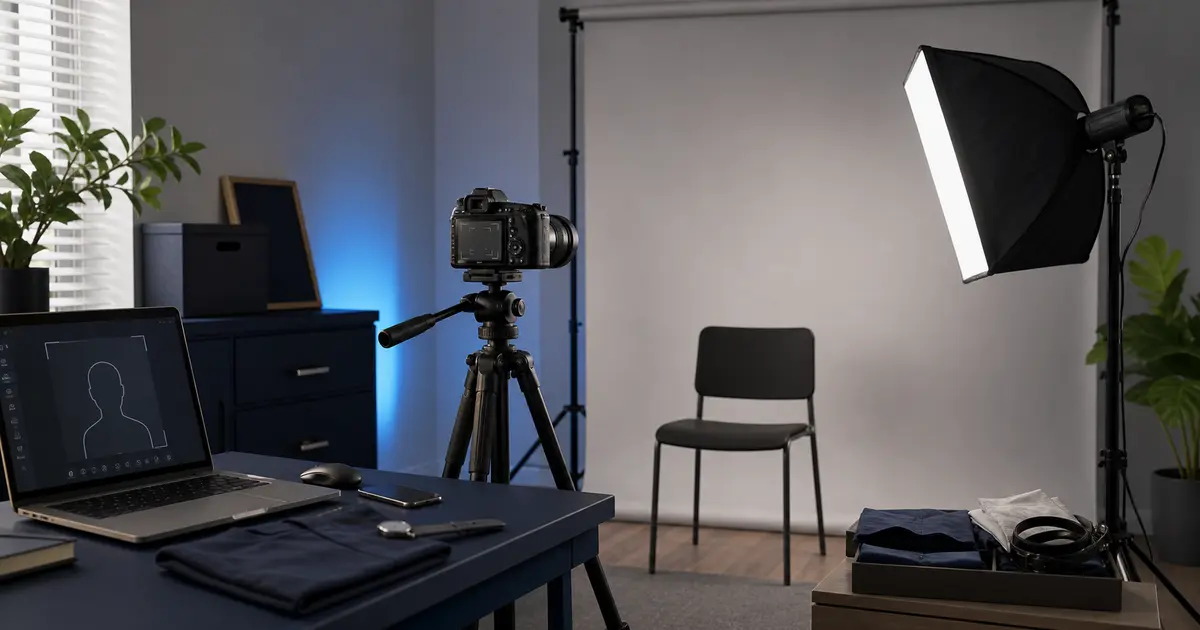
Background, lighting, and cutting tools
The cheapest setup mistakes are often physical. A textured wall can create shadows. A single harsh lamp can put glare on the forehead or one side of the face. Scissors can leave uneven edges on a small 2x2 photo. None of those problems require expensive gear, but they do require a little planning.
A plain foam board, soft daylight-style lighting, and a 12-inch trimmer are boring purchases in the best way. They reduce variables. That is what you want in a document-photo workflow.
Best setup order before taking the photo
- Put the plain background behind the subject first. A foam board, smooth wall, or clean backdrop should be close enough to fill the frame but far enough back to avoid a hard shadow.
- Set the light before opening the camera. Soft light from the front is easier to fix than a side lamp. If you use a desk lamp or softbox, keep it slightly above eye level and avoid pointing it straight into glasses.
- Take the photo with extra room around the head and shoulders. Cropping software needs space to straighten and size the portrait without cutting hair, chin, or shoulders.
- Export the final sheet from Passlens and print it at 100 percent scale. Turn off borderless expansion, fit-to-page, shrink-to-fit, or any automatic photo enhancement that changes the size.
- Cut the sheet last. Use a trimmer against the printed crop marks when possible, then measure one finished photo before cutting the rest of the sheet.
This order keeps the fixes cheap. If the background is wrong, you can retake the photo. If the print scaling is wrong, you can reprint one sheet. If you cut first and measure later, you may not know whether the problem came from the export, the driver, or the cutter.
US and UK buying notes
The U.S. path usually starts with 2x2 inch output and 4x6 sheets. The UK passport route is digital-first for many users, but printed and backup workflows still benefit from controlled paper, lighting, and background setup. The product cards use tagged Amazon links for the exact item names, model numbers, or product codes shown.
The cards do not show prices, ratings, or review counts because those details change and require API approval. The images were supplied for this page; use the Amazon listing for the current packaging, bundle, seller, and compatibility details before buying.
What to avoid buying
Avoid gear that makes the process less controlled. Colored backdrops, textured backgrounds, novelty lighting, and phone clip lenses usually add problems to a document-photo workflow. They can be useful for portraits, but passport-photo work is about a plain, measurable result.
Do not buy a cutter only because it looks compact. For passport photos, the cutting edge needs to stay straight across a small photo. A 12-inch trimmer is useful because it can handle 4x6 sheets, Letter sheets, and A4 sheets without forcing you to reposition the paper several times.
Do not buy paper from a listing that hides the size, finish, or printer compatibility. A product page should make those basics easy to check. If you cannot confirm the paper size and type, use a clearer listing or buy the matched media pack for your printer.
Simple rule
Buy supplies that make the result easier to measure: known paper size, known printer settings, plain background, soft light, and a straight cutter.
Sources and related guides
- Canon U.S.A. - SELPHY CP1500 product page
- Epson - PictureMate PM-400 product page
- Canon U.S.A. - KP-108IN color ink and paper set
- Epson - Ultra Premium Photo Paper Glossy
- Canon - PP-201 Glossy II Photo Paper Plus 4x6, 100 sheets
- Fiskars SureCut Deluxe listing details
- Elmer's 900802 foam board listing details
- Amazon - EMART B0C7L2NC5R listing details
- Amazon Associates - affiliate disclosure help
- Passlens - Passport photo printer guide
- Passlens - Passport photo paper guide
- Passlens - How to print passport photos at home