Compress a Visa Photo to KB Limits in 2026: 240 KB, 1 MB, 4 MB, JPEG Quality, and Safe Re-Export Steps
How to reduce a visa or passport photo file size without ruining the image: DS-160 240 KB files, India eVisa 1 MB photos, Canada PR 420 KB-4 MB rules, JPEG quality, pixels, and common mistakes.
Quick answer: file size is not the same as photo dimensions
Visa portals often give a KB limit, but the KB number is only one part of the file. A photo also has pixel dimensions, file format, color mode, compression quality, and visible quality. Reducing a 4 MB camera photo to 240 KB can be fine if you first crop and resize correctly. Reducing a badly compressed 240 KB photo again usually makes it worse.
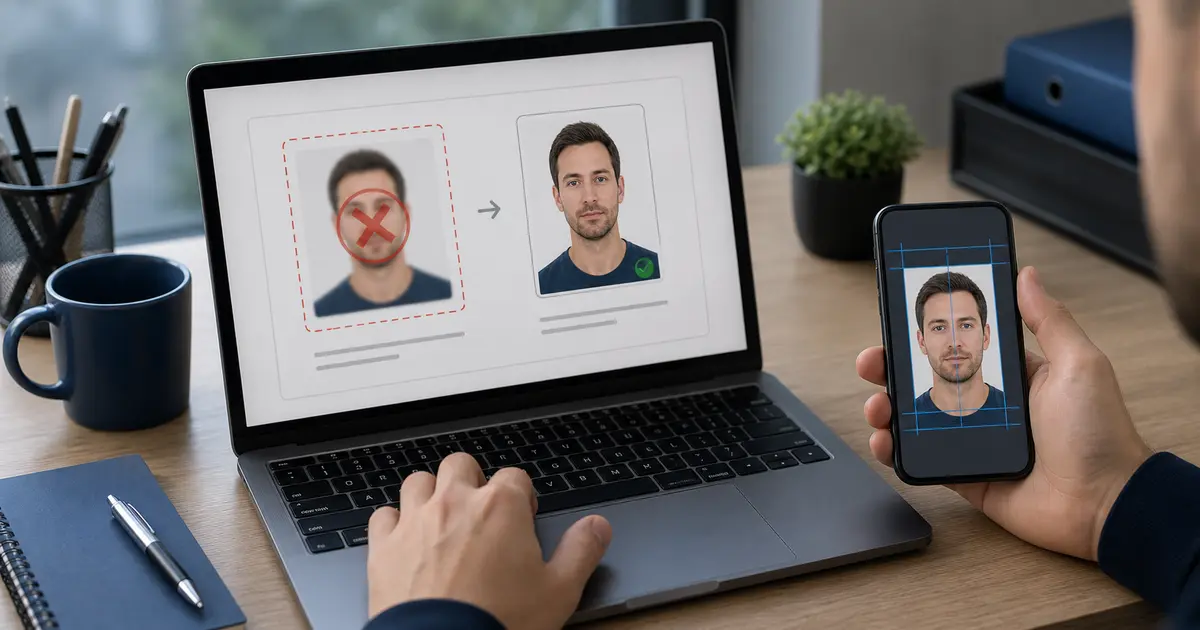
If your real route is a U.S. visa or passport-style upload, start with the US passport photo maker. If the blocker is the square digital target or export size, use the 600x600 passport photo maker. If you only need a final review before you submit, use the passport photo checker.
| Workflow | Common file-size rule |
|---|---|
| U.S. DS-160 digital photo | 240 KB or less |
| India eVisa applicant photo | 10 KB to 1 MB |
| UK visa or permission upload route | 50 KB to 6 MB |
| Canada PR card digital photo | 420 KB to 4 MB |
The safe way to reduce a visa photo file size
- Start from the original photo or the highest-quality crop you still have.
- Crop to the correct shape and head position before compression.
- Resize to the official pixel requirement or range.
- Export in the required format, usually JPEG/JPG unless the portal allows PNG.
- Adjust JPEG quality only as much as needed to meet the KB limit.
- Open the final file and inspect the face, hair edge, background, and textural artifacts before upload.
This order matters. If you compress first and crop later, you throw away useful detail. If you crop first but keep full camera resolution, the file may stay too large. If you keep recompressing rejected exports, the final image can pass the KB limit and still look too damaged.
When compression has gone too far
- Skin and hair edges look blocky or smeared.
- The background shows square artifacts or banding.
- The eyes are soft even though the original was sharp.
- The file is under the KB limit but the portal preview looks visibly worse.
- A second save at lower quality is needed because the first export missed the limit.
Better fix
Instead of lowering quality again, reduce pixel dimensions within the official range, then export once at a cleaner JPEG quality.
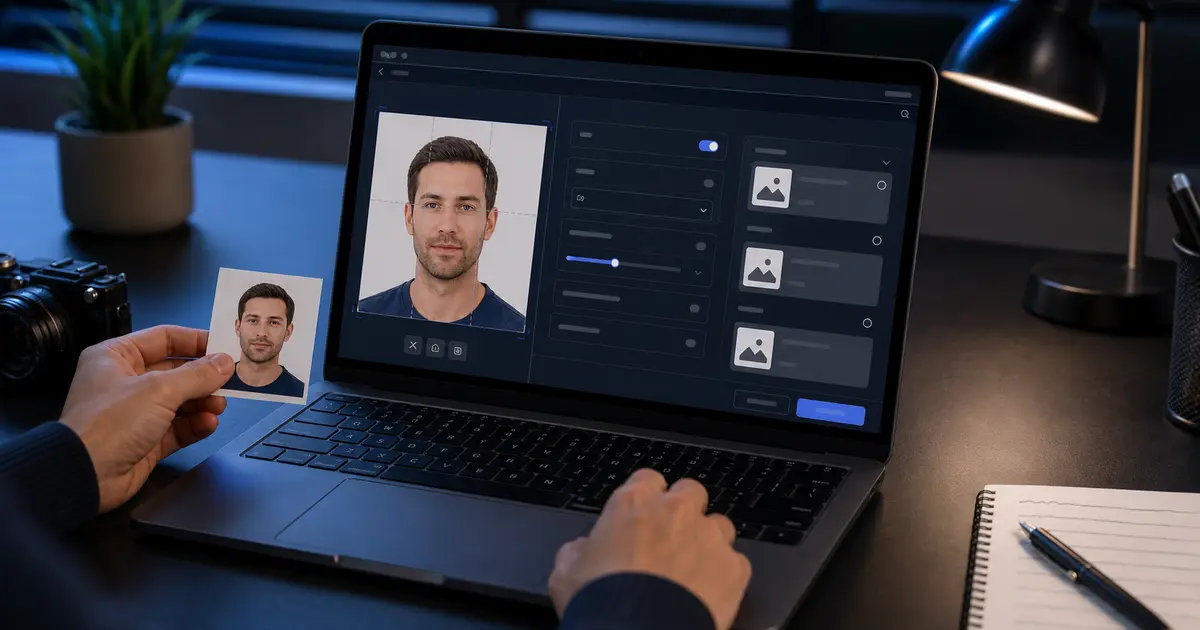
How Passlens fits into KB-limited visa photos
Passlens should keep the document-photo work separate from the final file-size work. First get the crop, background, and document preset right. Then export to the format and size required by the portal. For strict upload flows, keep a clean source copy so you can re-export without quality loss if the first file is too large.
Frequently asked questions
Should I make the photo smaller in pixels or lower JPEG quality?
Use the official pixel range first. If the image is larger than required, resizing helps more cleanly than heavy JPEG compression. Then adjust JPEG quality enough to fit the KB limit.
Can I compress a visa photo many times?
Avoid it. Each JPEG save can add damage. Return to the original crop and export a fresh file whenever possible.