HEIC to JPEG for Passport and Visa Photos: Fix iPhone Upload Problems Without Breaking the Crop
How to convert iPhone HEIC photos to JPEG for passport, visa, DS-160, eVisa, and digital ID uploads while preserving orientation, crop, quality, and official file-size limits.
Why HEIC breaks passport and visa uploads
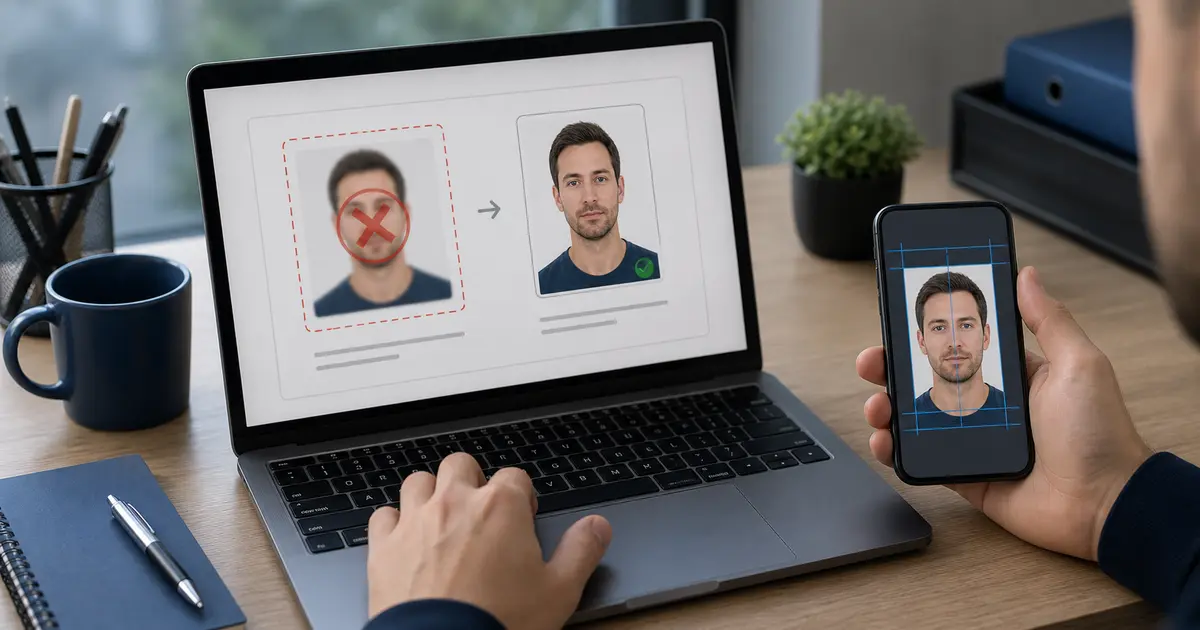
Many iPhones save photos as HEIC/HEIF when the camera is set to High Efficiency. That format is good for phone storage, but many visa and passport portals ask for JPEG/JPG, and some only mention PNG as a second option. If you upload the original HEIC file, the portal may reject it before it checks the crop.
The fix is simple, but the order matters: convert before upload, keep the image upright, crop from a good-quality version, and export the final JPEG to the exact pixel and KB rules for the document.
If your real route is a U.S. visa or passport-style upload, start with the US passport photo maker. If the blocker is the square JPEG target, use the 600x600 passport photo maker. If you only need a final review before you submit, use the passport photo checker.
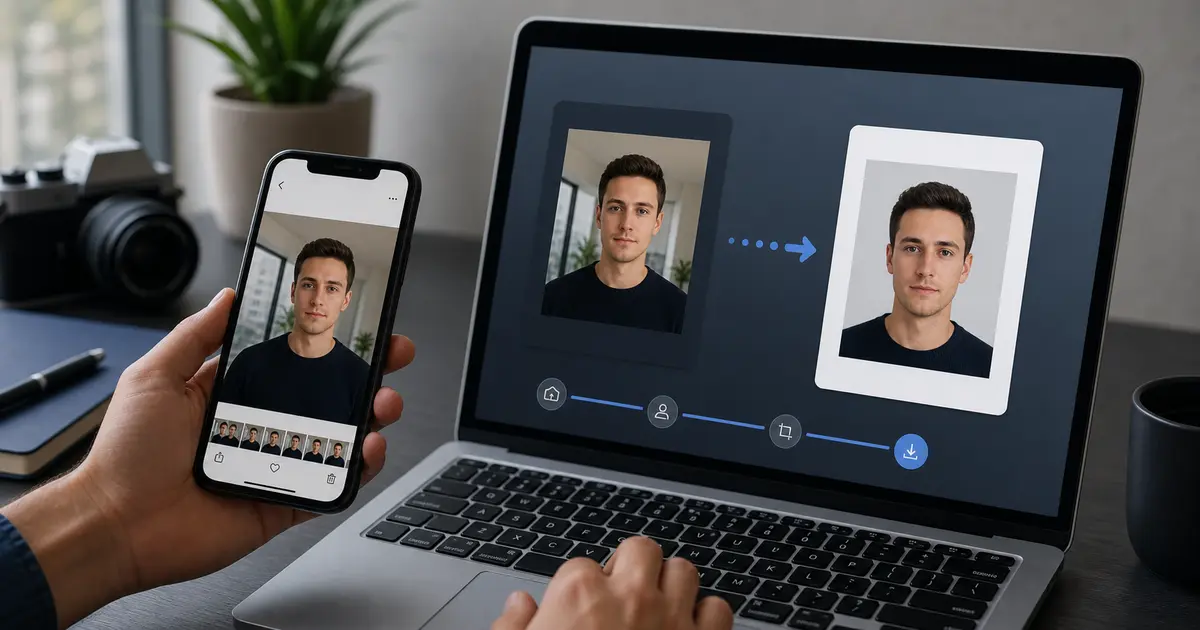
Safe HEIC to JPEG conversion order
- Keep the original HEIC until the final JPEG is accepted.
- Convert to JPEG without sending the file through social apps or message compression.
- Open the converted JPEG and check that the photo is upright.
- Crop and size the JPEG for the visa or passport workflow.
- Export the final file once, using the required pixels and KB limit.
- If the file fails, re-export from the crop instead of editing the rejected JPEG again.
Where JPEG matters in real visa workflows
| Workflow | Why HEIC conversion matters |
|---|---|
| U.S. DS-160 | The digital image requirement is JPEG, square, and 240 KB or less |
| India eVisa | The applicant photo must be JPEG and within the eVisa file-size range |
| UK visa or permission | GOV.UK lists JPG or PNG for the upload route, not HEIC |
| Canada PR card | The detailed digital photo specification uses JPEG/JPG wording |
If an official portal accepts PNG, it may still be safer to use JPEG when the document guidance names JPEG explicitly. Do not use WebP, HEIC, or screenshots unless the portal says they are accepted.
Common iPhone photo mistakes
- Sharing the photo through a chat app, then using the compressed copy.
- Taking a screenshot of the photo instead of converting the original.
- Cropping before checking whether the file rotated during conversion.
- Uploading a Live Photo sidecar or a cloud-preview copy instead of the actual JPEG.
- Converting correctly but forgetting the route-specific KB limit.
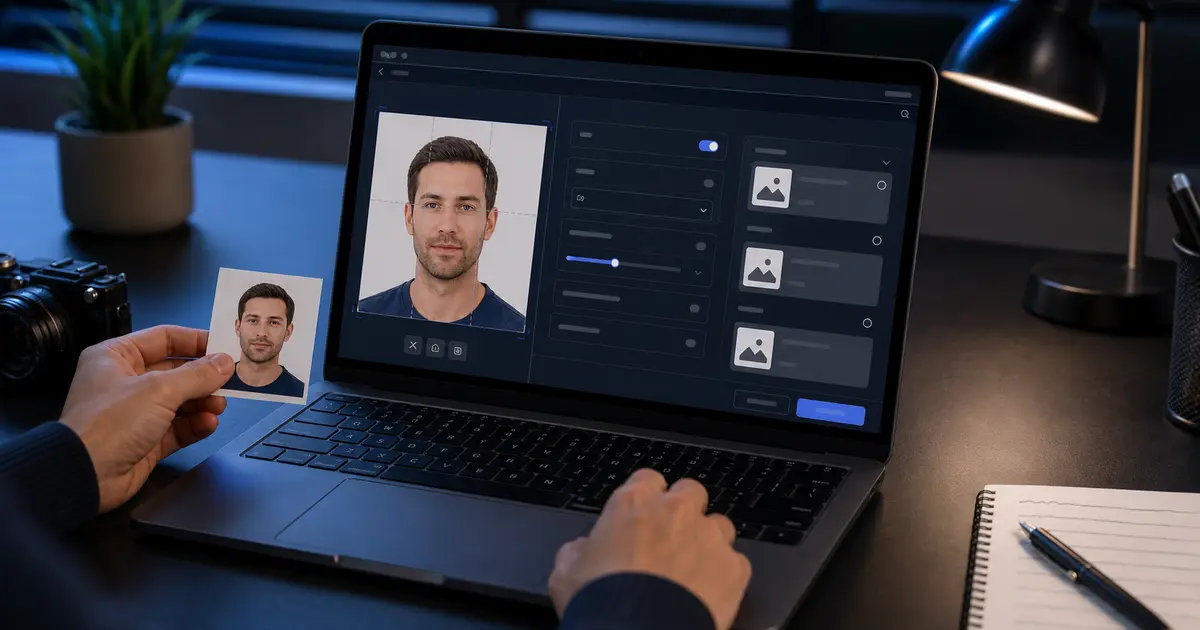
How to use Passlens after HEIC conversion
Convert the iPhone photo to JPEG first, then bring the JPEG into Passlens. Choose the document preset, fit the face, clean the background only where the route allows it, and export the final file for the target upload. For U.S. visa, that means square JPEG and the 240 KB limit. For India eVisa, it means a square JPEG between 10 KB and 1 MB.