Passport Photo Software Guide (2026): Editors, Cameras, Crop Tools, Templates, Printers, Paper, and What to Compare
A long-form guide to the best passport photo software for buyers comparing an online passport photo editor, free passport photo maker, biometric photo maker, crop tool, printer, paper, and print-template workflow without drifting into YMYL topics.
Why passport photo software is a real software category, not just a crop toy
People searching for passport photo software are usually past the stage of trying random editors. They are close to choosing a workflow. What they want is simple: take a normal portrait and get to a usable document photo without bouncing between four unrelated tools. That is what makes this topic commercially strong without pushing it into YMYL territory. The user is comparing software, print handling, image quality, and workflow convenience, not asking for legal or immigration advice.
In real search behavior, that intent overlaps heavily with online passport photo editor, free passport photo maker, and biometric photo maker. Most users are not treating those as separate markets. They are trying to work out which product gives them the cleanest route from portrait to final output, whether that means a browser editor, a guided crop tool, or a print-ready sheet.
That distinction matters because a lot of content still reduces passport photo software to one checkbox: “crop to the right size.” Real user intent is broader. People want to know whether the software helps with camera capture, handles modern phone files, keeps the background clean, gives them confidence about head placement, and exports for the exact next step. Some need a digital file. Some need a print sheet. Some need both. The value is not just editing the photo. It is reducing friction across the whole preparation path.
That is why this guide stays intentionally broad. It covers the software itself, but also the surrounding questions that shape buying intent: which editor fits which workflow, when the camera source matters, when background cleanup helps, how crop tools should behave, what templates actually solve, what kind of printer is enough, what paper helps most, and how to review the final output before you trust it. So this is not a one-app review page. It is a workflow guide for the broader non-YMYL passport photo toolchain. If you already know you want the browser-first route, start with the free passport photo maker online guide; if your main concern is home output, jump ahead to how to print passport photos at home.
If your real route is a U.S. passport or square digital upload, start with the passport photo maker. If you already know you need the U.S. route, use the US passport photo maker. If the blocker is the square pixel target itself, use the 600x600 passport photo maker. If you only need a final review before export or print, use the passport photo checker.
That is also what makes best passport photo software a useful query instead of a vague shopping phrase. The real comparison is not “which tool has the longest feature list?” It is “which tool cuts the most friction out of my actual workflow?”
What passport photo software includes in practice
| Tool layer | What it should solve | What users often get wrong |
|---|---|---|
| Capture workflow | Import or capture a clean source image from phone or desktop | Assuming any phone image is ready without format or lighting review |
| Editor / crop workflow | Set document size, review framing, adjust head position, manage background | Using a generic crop box with no document context |
| Output workflow | Export digital files, print sheets, or both at predictable settings | Thinking a good on-screen crop guarantees a good printed result |
| Quality review | Check edge quality, compression, sizing, and print readiness | Trusting the first export without a final review |
| Print workflow | Choose template, paper, and printer settings that preserve the work | Treating printer and paper as an afterthought |
This table is the clearest way to show why “passport photo software” is bigger than one editor tab. Users are really choosing a system. If one stage is weak, the whole workflow feels unreliable. A polished editor with weak print output is not enough. A fast camera-first experience with no serious crop review is not enough. Background removal without a trustworthy export path is not enough either. The useful comparison is the whole system, not one isolated feature.
It also explains why some high-intent queries convert better than generic “photo editor” searches. People looking for passport photo software, passport photo editor online, passport photo printer, or passport photo paper are often much closer to finishing the job. They are not wondering whether the task exists. They are deciding how to finish it with the least wasted time and the fewest avoidable mistakes.
The main software categories users compare
In practice, users compare four broad categories. The first is the online passport photo editor: browser-based software that usually focuses on guided editing, faster review on larger screens, and easier export into print or digital formats. The second is the mobile app: camera-first, convenient, fast to start, but often more constrained during detailed review. The third is general editing software: powerful, but usually too generic unless the user already understands document-photo requirements. The fourth is the print and finishing layer: layout tools, templates, paper, and printer settings that determine whether the final output still matches the software work you just did.
Most searchers assume these categories compete one-to-one. Often they do not. A good workflow can mix them. A user might capture on a phone, edit in a browser, and print on a separate device. Another user might capture and finish on the same phone, then hand off the final image to a photo printer. The best software guide should not pretend there is one sacred setup. It should explain which combinations reduce the most friction for different user types.
- Browser-first users: usually care about review clarity, output control, and privacy messaging.
- Phone-first users: usually care about speed, easy capture, and minimal steps.
- Home-print users: care about templates, actual-size printing, paper, and repeatability.
- Digital-only users: care about file handling, crop certainty, and predictable exports.
Online editor vs mobile app vs desktop editor
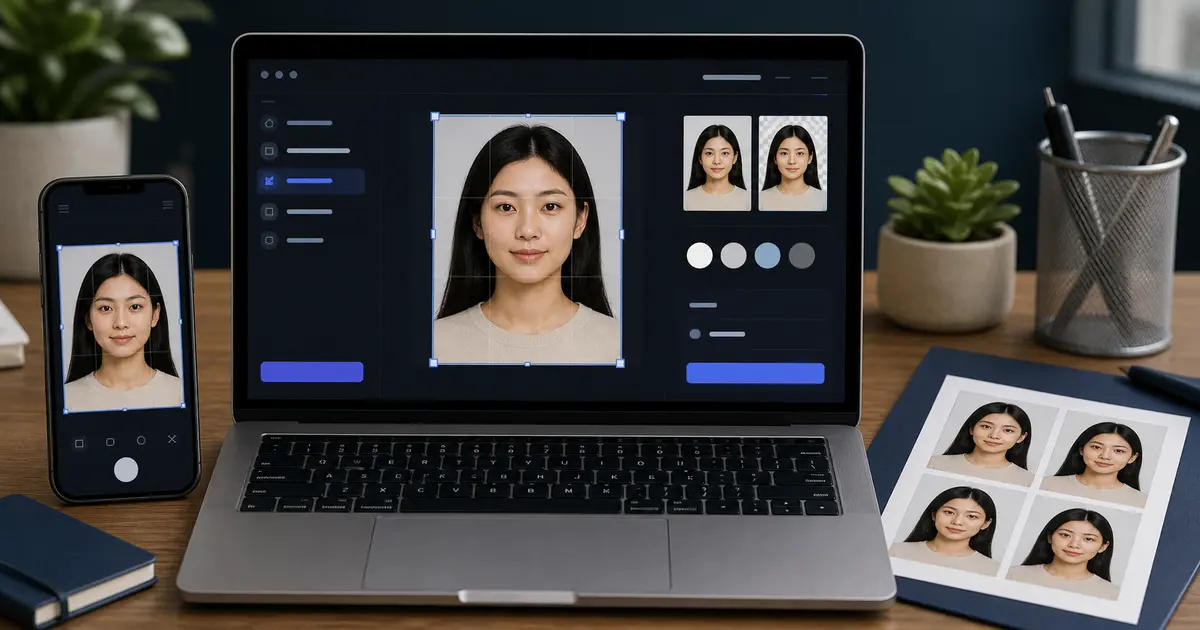
The most useful comparison is not “which platform is best in theory?” but “which platform gives the user the most confidence at the exact point where mistakes happen?” That is often why online editors do well for document-photo workflows. The browser gives the user a bigger, calmer review surface than many phone apps. It is easier to inspect crop edges, background cleanup, print layouts, and export choices on a laptop screen than on a small phone display. That matters because the errors users regret most are not dramatic. They are small framing, print, and quality issues that are easier to miss on cramped screens.
Mobile apps still have a clear strength: capture convenience. If the user is standing in good light with the phone already in hand, the camera-first flow is hard to beat. But many app-store experiences stop at convenience. They do not give enough confidence about the final output, especially when printing or exact multi-copy layout enters the picture. General desktop editors have the opposite problem. They are powerful, but they assume the user already knows how to translate a raw image into a document-ready frame. That assumption is fine for advanced users and terrible for everyone else.
That is why a lot of strong passport-photo workflows end up hybrid. Capture on the phone. Finish in the browser. Print from the device that gives the most stable output. This is not a compromise because the tools are bad; it is a natural reflection of where each environment is strongest. Good content should make that strategy feel normal instead of implying that a user failed if they did not complete everything inside one app icon.
| Environment | What it does best | Where it usually weakens |
|---|---|---|
| Browser editor | Review, crop, output control, print preparation | Needs a clean browser-compatible upload path |
| Mobile app | Fast capture and simple edits | Can feel cramped for serious review and print layout |
| General desktop editor | Power and flexibility | Too much manual work for users who just need a correct document photo |
Camera inputs, HEIC, JPEG, and why capture still matters
Passport photo software is only as strong as the source image it receives. That does not mean users need a studio or expensive camera, but it does mean the software should be honest about what it can and cannot fix later. A weak source image forces the rest of the workflow to work harder. If the face is slightly blurred, the software can sharpen, but it cannot restore true detail. If the framing is too far off, the crop can fix some of it, but not all of it. If the image comes in an awkward format that the user does not understand, the tool should absorb that complexity rather than forcing the user to debug it manually.
Modern phone file formats are a good example. Apple documents HEIF and HEVC as efficient formats that help save storage space while keeping image quality high. That is useful for everyday photography, but in document-photo workflows the user usually cares less about storage efficiency and more about predictable processing, printing, and export. A strong software stack therefore needs to be format-aware without turning the user into a format specialist. It should accept common phone inputs, present them cleanly, and hand the user back a predictable result for print or digital delivery.
This is also why capture guidance belongs inside a software guide rather than in a separate “photography” silo only. Commercial-intent users evaluating software are often deciding whether the tool will tolerate imperfect real-world input. The answer should not be “anything works.” The answer should be “good software helps, but a clean, well-lit source still saves the most time.” That is a software promise users can trust because it does not overclaim magical recovery.
- Best capture baseline: steady phone, even light, neutral expression, enough distance for later cropping.
- Best software behavior: accept common phone files, keep detail stable, and export predictably.
- Best user mindset: get the source image decent first, then let the software do the refinement work.
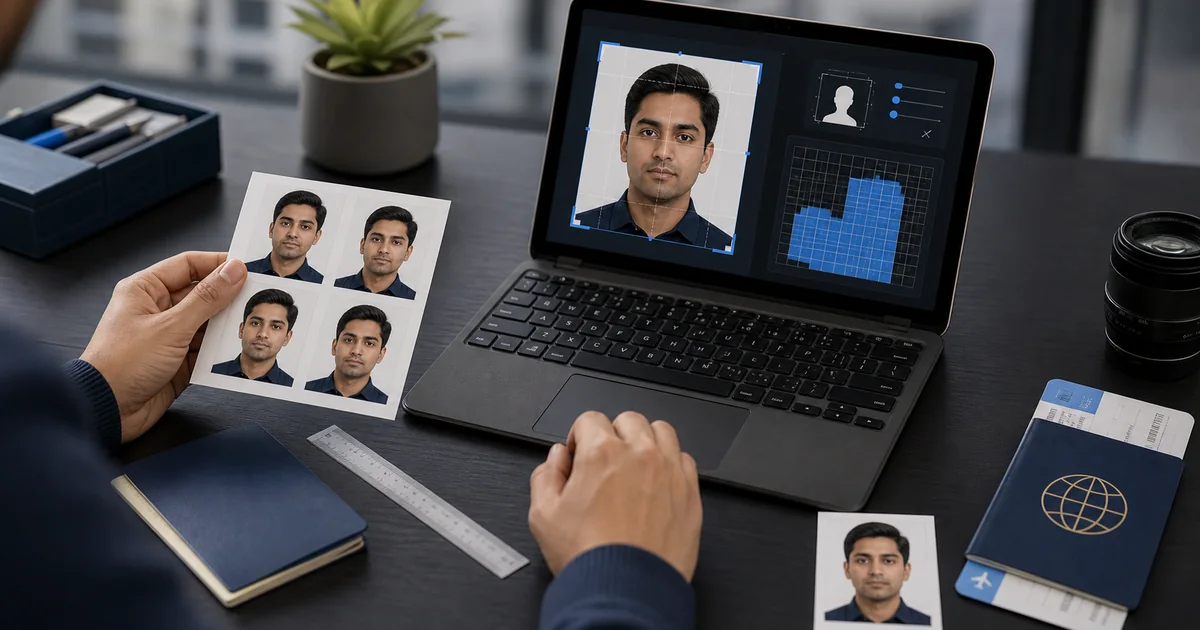
Crop tools, head size, and why framing is the hardest part to trust
Of all the software features in this category, crop and framing tools are probably the easiest to underestimate and the hardest to replace later. Users often think “I can crop anything myself,” and technically that is true. The real question is whether they can crop it with confidence in a document-photo context. A normal crop box is good at cutting edges. It is not necessarily good at helping the user judge whether the face sits convincingly inside the frame, whether the head feels too dominant, or whether the shoulders and hairline still read cleanly against the background.
That is why the best passport-photo software gives the user more than a rectangle. It gives them context. The frame should feel tied to a document preset. The movement controls should be precise enough for small adjustments. The user should be able to see how the crop relates to the final image, not just the current viewport. If the software offers assisted framing or auto-fit, it should still make the result reviewable rather than forcing trust in a black box.
This is one of the clearest commercial-intent subtopics in the cluster because users are evaluating whether a tool feels safe. A crop tool that feels sloppy, oversized, or disconnected from the final output makes the whole product feel unreliable. A crop tool that feels precise, measured, and linked to the final export makes the product easier to pay for because it reduces the fear of subtle mistakes.
The most honest content stance is simple: software should help the user review head size and framing clearly, but it should not pretend that a single automatic decision is always perfect. Good crop tooling reduces uncertainty. It does not erase the need for visual judgment. That balance is exactly what high-intent buyers want to hear, because it sounds like a serious tool instead of a gimmick.
Background removal tools: useful, but only if the edges stay credible
Background removal is one of the most marketable features in the whole passport-photo software category. It is easy to explain and easy for users to imagine: upload a selfie, remove the room behind you, and get a clean white or light background. That is valuable. It is also where overpromising happens most often. A background remover can save time, but only if the output still looks believable around the hairline, ears, shoulders, and collar edges. Clean edges beat dramatic AI marketing every time in a document workflow.
The right buying question here is not “does the software have AI background removal?” It is “does the software let me review the edge quality and keep the result natural?” The most useful tools treat background cleanup as part of the broader workflow. The crop still matters. The final export still matters. The print sheet still matters. In other words, background removal is a strong feature, but it is not the whole product category.
This is where browser-first products can shine because they can give the user a bigger inspection surface and a more obvious comparison between before and after. A quick mobile app can still be useful, but if the user cannot confidently inspect the edges, they are essentially trusting a guess. Good software makes that trust easier to earn.
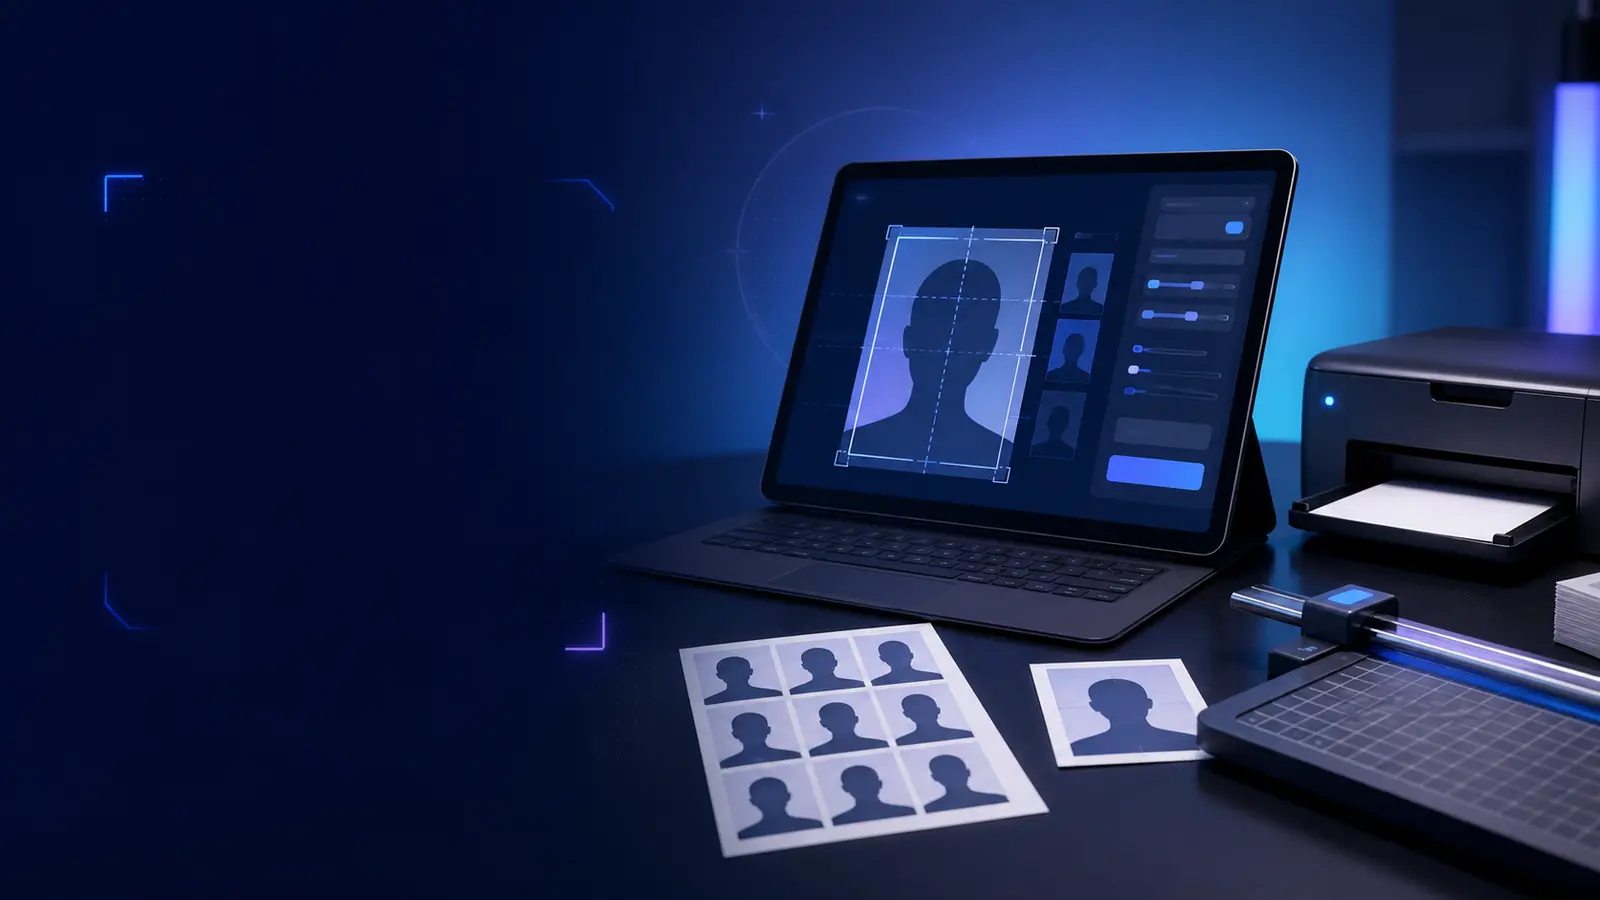
Print layouts, templates, and why output structure is part of the software purchase
A lot of commercial-intent content ignores print layouts because the easier pitch is “download your photo.” That leaves out a major part of the actual workflow. Many users do not want only a single cropped file. They want a reliable print layout: repeated copies on 4x6, A4, or Letter, clear cut lines, predictable margins, and a sheet that still looks correct when the printer is set to actual size. That is not a side feature. For home-print users, it is the feature that determines whether the software actually solved the job.
This is why template support should be discussed alongside the editing features rather than hidden in a later footnote. A product with nice cropping and weak layout output will force the user into a second tool. A product with strong layout output can become the entire workflow. That difference matters commercially because it changes whether the software feels like a full solution or just one step in a longer chain.
Good print-template content also helps users avoid a common trap: confusing a creative collage tool with a structured document-photo layout tool. The software should not just place images on a page. It should preserve their size, spacing, and cut logic in a way that supports accurate trimming. That is exactly the kind of practical, non-YMYL content that attracts high-intent users close to conversion.
Printers and paper are not outside the software conversation
It is tempting to treat printer and paper discussions as hardware-only topics, but they belong inside a passport-photo software guide because the software purchase often assumes a print destination. If the user expects to print at home, the software should support that expectation with stable layouts, clear export behavior, and guidance that still makes sense when it hits a real printer and real photo paper. Otherwise the user is only buying half a workflow.
Printer manufacturers themselves document how strongly media settings influence output quality. HP, Epson, and Canon all emphasize photo-specific printing choices and media-type selection. That means software content can make a strong, non-YMYL commercial point here: the best software is not just the software with the prettiest editor. It is the software whose output survives contact with real printers, real paper, and real cutting workflows. For many buyers, that reliability is more valuable than one more flashy editing panel.
This also creates clean content silos. Software buyers can land on the hub, then branch into printer and paper guides only if they need them. That keeps the cluster broad without making every page bloated. The hub should explain why the print layer matters; the support pages should explain which printer or paper features actually justify attention.
Quality checking is the most underrated software feature
One of the most commercially meaningful features in passport photo software is not capture, cropping, or background removal. It is the quality check at the end. Buyers want a tool that makes the final review feel obvious. They want to know whether the face looks well-framed, whether the background still feels uniform, whether the file looks over-compressed, whether the print sheet still looks measured, and whether the whole output feels stable enough to trust. That is why “checker” content belongs in this cluster. It matches a real product-evaluation question: how much confidence does the software create before I export?
Good software does not only generate output. It helps the user reject bad output before it becomes a problem. This may sound simple, but it is commercially powerful because it is one of the clearest distinctions between casual tools and serious ones. Casual tools help users make images. Serious tools help users decide whether the image is ready. That review confidence is exactly what many buyers are paying for even when they describe it in simpler language like “I want the easiest app that actually works.”
Privacy, local processing, and why buyers care about where the image goes
Privacy is another reason this category has strong commercial intent. Users are not always comfortable sending a document-style portrait through unknown pipelines without understanding how it is processed. That does not mean every upload-based workflow is bad. It means clear processing boundaries matter. Browser-first or local-first handling can be a strong differentiator when the software explains what stays local and when the user is intentionally choosing another path.
This topic remains safely outside YMYL because it is about software handling and user trust, not legal or medical risk. Still, it matters to conversions. People comparing passport photo tools often care about whether they can keep the workflow in the browser, whether the product makes uploads optional, and whether the export path feels transparent. That is not just a policy concern. It is a product-selection concern.
The practical guidance here is straightforward: software should make processing choices legible. The user should know when the image is staying local, when upload-based processing is being used, and what the final export contains. That clarity makes the tool feel more serious and more trustworthy, which is exactly what commercial-intent content should reinforce.
That is one reason the browser-first route keeps showing up in this cluster. It is easier to trust software when the tool makes the workflow visible: crop here, review here, export here, print here. Good software feels legible. Weak software feels like you are borrowing someone else’s assumptions.
Free vs paid features: what users actually pay for
A lot of “best passport photo software” content gets trapped in pricing theatrics. The more useful comparison is feature structure. Users usually pay when the workflow becomes more predictable, not just because the interface looks better. A free tool may be enough when the user only needs a basic crop and a simple export. Paid value usually appears when the user wants stronger background cleanup, clearer print layouts, more serious review tools, privacy controls, or a workflow that saves them from jumping between products.
That is why high-CPC content should not try to shame users into paying. It should explain what paid features actually remove from the workflow. If a paid upgrade removes ad clutter, preserves export quality, adds stronger print layouts, or improves review confidence, that is meaningful. If it only adds cosmetic effects to a category built around correctness and output control, it is weak value. Strong content helps buyers recognize that difference quickly.
The safest topic map for non-YMYL high-intent content
If the goal is to grow a high-CPC content surface without wandering back into YMYL, the safest path is to stay close to software, output quality, and the physical finishing workflow. That means topics like passport photo editor online, passport photo printer, passport photo paper, passport photo templates, and passport photo crop tools. These are all close to the product, commercially relevant, and safer than drifting into application fees, proof of funds, or banking documents.
This topic map also gives the site a cleaner structure for future expansion. The pillar can stay broad and commercial. The support pages can go deeper on specific tool decisions. Existing guides about print layouts, background rules, app workflows, and face adjustment can keep handling the adjacent product questions. That combination creates many topics without fragmenting the site into unrelated content verticals.
A decision matrix for choosing the right passport photo software setup
A useful buying guide should end with a clear decision matrix, because many users are still translating broad feature language into a concrete setup. If you mainly care about capture convenience, the right stack is usually phone capture plus a tool that does not make export fragile. If you care about detailed review, a browser-first workflow is usually the better answer. If you care about printing repeatedly at home, the most important question is whether the software connects cleanly to templates, paper, and printer behavior. If you care about minimal friction and minimal tool-switching, the best setup is often the one that gives you the fewest handoff points between capture, crop, export, and print.
This is exactly why software comparison pages can attract strong commercial-intent traffic without becoming recommendation spam. They are not merely saying “use tool A.” They are helping the user identify which workflow constraints matter most, then choose the product shape that matches those constraints. That is much closer to how serious buyers think. They are not only collecting features; they are reducing failure points.
| If this is your main priority | The strongest setup usually looks like | Why |
|---|---|---|
| Fastest start from a phone | Phone capture with simple browser or app finishing | Keeps capture easy while still allowing a final review |
| Most confidence before export | Browser-first editing with clear crop and output tools | Larger review surface and easier comparison against guides |
| Best home-print workflow | Software with templates plus a predictable printer and paper path | The print layer becomes part of the workflow instead of an afterthought |
| Lowest friction overall | One workflow that can crop, review, and export without second-tool fixes | Reduces the chance that the user gets lost between tools |
What to avoid if you want commercial intent without YMYL risk
The line to avoid is clear. Do not drift into application fees, proof of funds, banking KYC, relocation budgeting, or route-specific administrative advice if the current goal is to stay outside YMYL. Those topics may have search volume and CPC, but they shift the site into a much riskier trust category. The safer move is to keep the content about tools, print quality, paper, output control, and workflow efficiency. Those topics still align with buyer intent and still connect directly to the product.
That is the best reason to build the cluster this way. It lets the site chase stronger commercial queries while staying inside a domain it can speak about credibly: image preparation, cropping, output quality, and print workflows. There is plenty of room to grow there before risking a broader YMYL expansion.
The most common workflow patterns buyers actually use
One reason commercial-intent passport photo content performs well is that users are not all solving the same workflow. Some are pure phone users. They capture on the phone, edit on the phone, and print later if they need to. Some are browser-first users who are happy to capture on the phone but want the bigger review surface of a laptop before they trust the export. Some are home-print users who care less about editing polish and more about whether the software feeds reliably into a 4x6 or A4 print layout. Others are digital-only users who may never print, but still want confidence that the file they export will not feel fragile or over-processed. This is why the best software guide does not treat the buyer as one generic person. It explains which tool combination removes the most friction for each path.
The phone-first workflow works best when convenience is the dominant constraint. The user wants to move quickly, may be working with a casual home setup, and values camera access above everything else. In this case, the best software behavior is not “maximum power.” It is fast capture, simple crop review, predictable background cleanup, and a clean handoff to either a browser or a print export. The browser-first workflow works best when the user expects to check the output carefully, compare guide pages, or manage print layouts. Here, screen space and inspection confidence matter more than raw speed. The home-print workflow cares most about templates, sheet sizes, cut lines, paper, and printer behavior. The digital-only workflow cares most about file clarity, crop certainty, and output predictability.
This breakdown matters because it helps users shop with intent. Instead of searching endlessly for “best app,” they can ask a better question: which workflow am I actually running? Good software content should help them make that leap. That is one of the simplest ways to keep the topic high-intent and commercially useful without ever drifting into YMYL territory. The user is not being told what the government will approve in a legal sense. They are being helped to choose software that fits the real-world way they plan to create, review, and output a document photo.
Output modes are where weak software usually gets exposed
A lot of software looks competent until the user actually tries to leave the editing screen. That is why output modes deserve their own section in a serious buying guide. If the tool only exports one flattened file with weak control over size, paper, or multi-copy layout, the user may still need another product to finish the job. That makes the original software feel less like a solution and more like a half-step. Strong passport photo software is not just about what happens while the user drags a crop box. It is about how clearly the workflow ends. Does the user get a single image, a print sheet, a PDF, a ZIP, or a predictable digital file? Can they check the final result before committing? Does the export path support the next action they actually plan to take?
This is especially important because buyers rarely think in “output mode” language at first. They think in practical outcomes: “I need to print this at home,” “I need a few copies on one sheet,” or “I only need a digital result I can keep on my device.” Good content translates those outcomes into software requirements. A home-print user should care about templates, sheet sizes, and actual-size printing. A digital-only user should care about crop confidence, compression control, and predictable export handling. A hybrid user should care about both. When a guide explains output modes clearly, it helps users filter out products that are visually attractive but operationally incomplete.
This is also where a lot of higher-CPC queries naturally branch. People who start with passport photo software often later search for passport photo template, passport photo printer, passport photo paper, or online passport photo editor because the original content made them realize which part of the workflow matters next. That is exactly the kind of topic cluster you want if the goal is to add more commercial content safely. The software hub captures the broad intent; the support pages answer the narrower purchasing and workflow questions.
A serious buying checklist for passport photo software
- Check whether the software is strong at the exact workflow you need: browser review, phone capture, print layout, or digital-only export.
- Look for crop tools that feel tied to document framing rather than generic aspect-ratio editing.
- Treat background cleanup as a review feature, not just an AI marketing bullet.
- Verify that the export path supports real print or digital outcomes without requiring a second product.
- If privacy matters, make sure the software explains local versus upload-based processing clearly.
- For home printing, check that templates, paper handling, and actual-size output are first-class parts of the workflow.
This checklist is intentionally practical because that is how high-intent buyers think once they stop scrolling ad copy. They want to know where the software will fail them. They want to know which feature gaps create the most friction later. They want a reason to choose one workflow over another that feels grounded in actual use, not just in brand language. Good commercial content should reduce the number of wrong tool trials a user has to make. That is especially important in this category because many users are time-constrained and emotionally impatient by the time they begin searching for a passport photo solution.
A useful side effect of this checklist is that it also protects the site from drifting into vague recommendation culture. Instead of pretending to rank every app on the internet, the content stays anchored to feature evaluation and workflow fit. That keeps the writing trustworthy, commercially relevant, and safer than broad comparison pages that make claims they cannot substantiate. It also helps the site speak in its real area of strength: document-photo preparation and output quality.
How weak software usually fails in the real world
Weak passport photo software rarely fails in a dramatic way. It fails quietly. The crop tool feels just a little vague. The background edge looks slightly off only after export. The print sheet seems fine until the printer scales it. The phone upload works, but the file format handling feels inconsistent. The preview is attractive, but the final result feels harder to trust than it should. These are not catastrophic failures in isolation, but together they create exactly the kind of friction that sends users back to search results looking for a different tool. Strong commercial content should name those failure modes openly because they are how buyers decide whether software is worth their time.
This is also where software and support content reinforce each other. A user reading the software hub may recognize that what they really need help with is paper choice, a better print template, or a more trustworthy crop tool. That is not a failure of the hub. That is the point of the hub. It should help the user narrow the job until the next decision becomes obvious. The support guides then take over and answer that narrower question in more depth. The result is a safer content cluster with many topics, clear internal links, and no need to invent risky YMYL angles just to add breadth.
The best signal that software is strong is not that it claims to do everything. It is that the workflow feels legible at every step. The user can tell what the software is helping with, what still needs review, and what the final output is meant to do. That is a strong product quality signal, a strong content angle, and a strong commercial-intent message all at once.
Representative sources and related guides
- Apple Support - Use HEIF or JPEG on iPhone camera
- HP Support - Print photos with an HP printer
- Epson Support - Paper type settings and media options
- Canon Manual - Printing photos
- Adobe Help - Crop and straighten photos
- U.S. Department of State - Passport photos
- GOV.UK - Photos for passports
- Passlens - Passport photo editor online
- Passlens - Passport photo printer guide
- Passlens - Passport photo paper guide
- Passlens - Passport photo template guide
- Passlens - Passport photo crop tool guide